Easy Roof Inspection Checklist for Homeowners (9 Best Steps)
Maintaining a sturdy and safe roof is a top priority for every homeowner. Performing routine checks can save you from costly repairs and ensure your home stays protected from the elements. Utilizing a roof inspection checklist is a practical way to keep track of your roof’s condition and address potential problems early. If you want professional assistance, consider scheduling a thorough evaluation through expert residential roofing services that help you maintain a durable roofing system. This guide will walk you through key steps to effectively inspect your roof and know what to look for throughout the year.
- Understand why regular roof inspections matter for home safety and maintenance
- Learn the best step-by-step approach to conducting your own roof inspection at home
- Identify common signs of roof damage and what they imply
- Get tips on when to call in a professional for detailed roof inspection and repairs
Why a Roof Inspection Checklist Matters for Homeowners
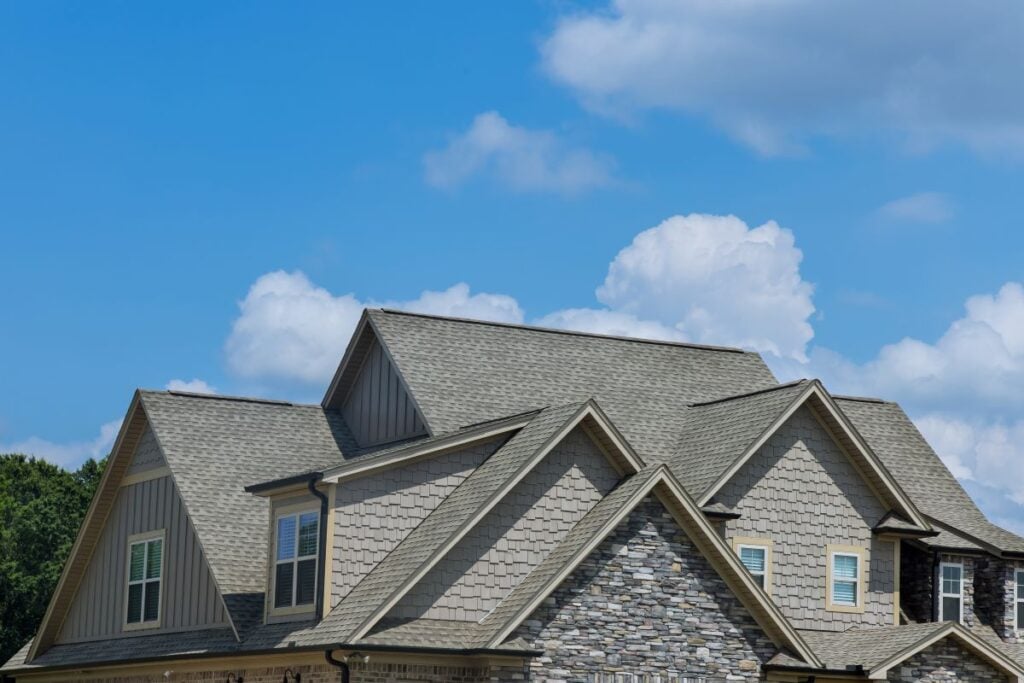
Every home faces wear and tear over time, and the roof is especially vulnerable to weather and environmental stressors. A thorough roof inspection checklist ensures that you cover all critical areas systematically, helping you spot damage early before it escalates. This proactive approach not only protects your investment but also guarantees the comfort and safety of your household.
- Early damage detection: Identifies minor issues before they become costly repairs
- Extends roof life: Timely maintenance can prolong the lifespan of your roof materials
- Preserves home value: A well-maintained roof supports your property’s resale value
- Safety assurance: Prevents potential hazards like leaks and structural failures
- Insurance readiness: Helps document roof condition for claims and policy compliance
9 Best Steps for an Easy Roof Inspection Checklist
Inspecting your roof can feel daunting without guidance, so use this organized, nine-step process to ensure a comprehensive assessment. Each step targets specific areas and indicators to evaluate your roof’s overall health.
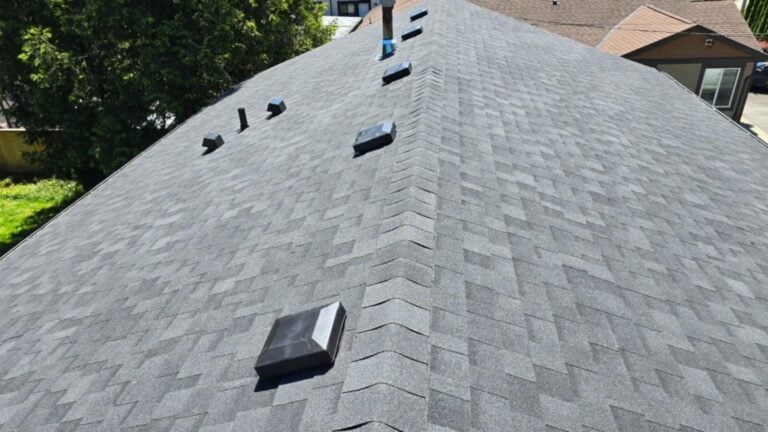
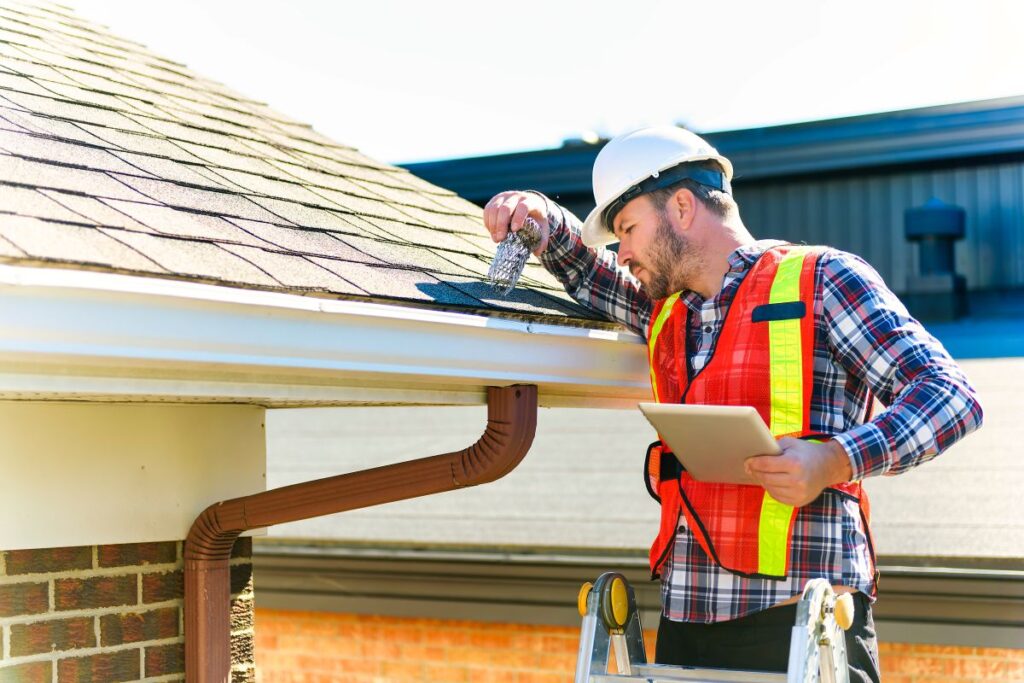
1. Visual Inspection from the Ground
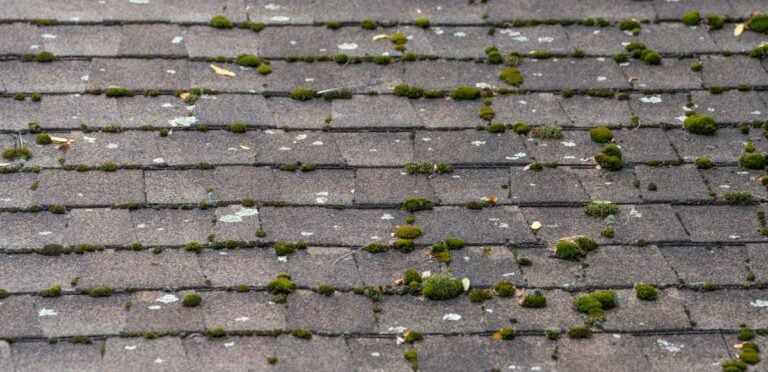
Begin the inspection by walking around your home’s perimeter to scan the roof surface visually. Look for missing, cracked, or curled shingles, uneven roof lines, and signs of sagging. Dark streaks or moss may also indicate moisture issues. Check your gutters for granules or debris, which signal shingle wear.
2. Inspect Flashing and Seals
Focus on areas around chimneys, skylights, and roof vents. Damaged flashing can cause water intrusion. Look for rust, cracks, or separation. Check the caulking and seals to ensure they remain watertight.
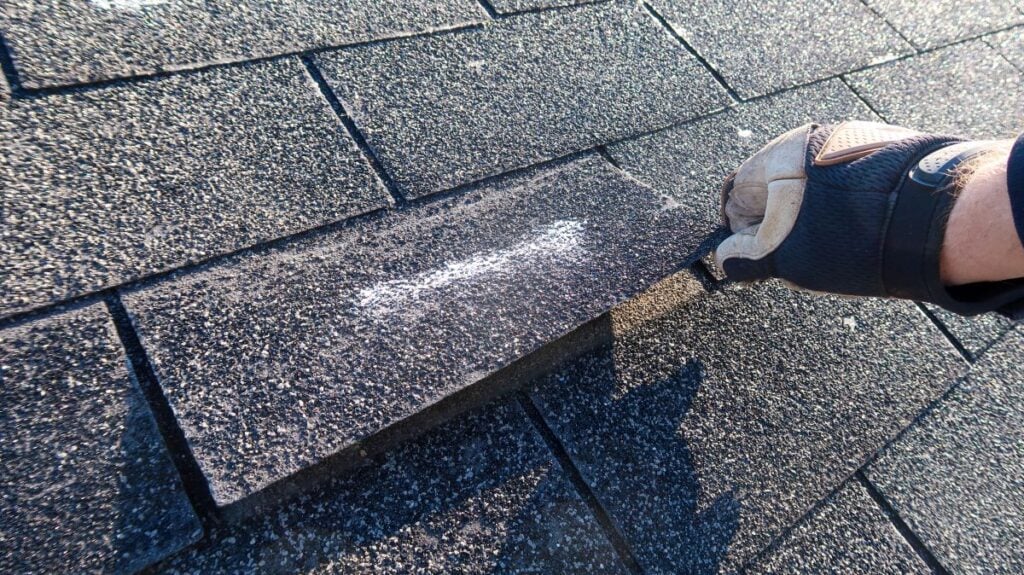
3. Examine the Shingles Up Close
If safe to do so, climb a ladder for a closer look. Check for soft spots, curling, or missing granules. Shingles should lie flat and be free from tears or brittleness, especially on older roofs. If your roof includes metal panels, check for dents or corrosion that could compromise performance.
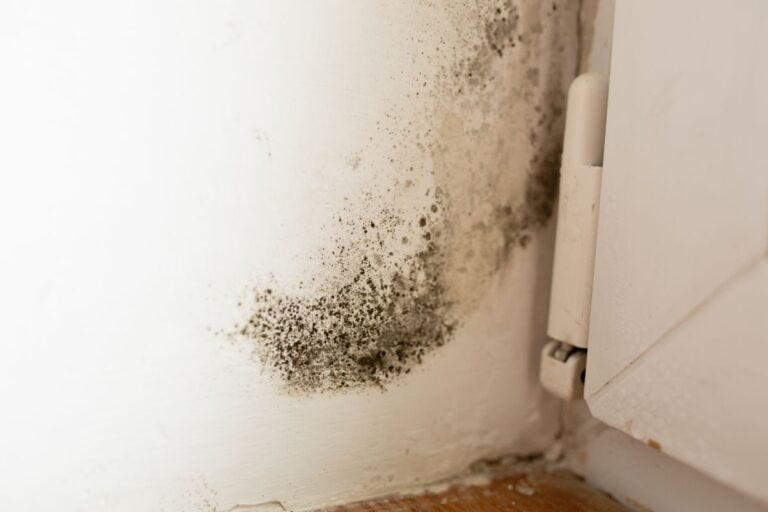
4. Look Inside the Attic
Interior signs of damage often show up in your attic first. Use a flashlight to check for water stains, warped wood, or musty smells. Confirm that proper ventilation is in place to reduce moisture buildup and preserve the integrity of the roof deck.
5. Inspect Gutters and Downspouts
Clogged or misaligned gutters can cause water to back up onto the roof. Make sure gutters are clear, securely attached, and draining properly. Check for signs of overflow or rust.
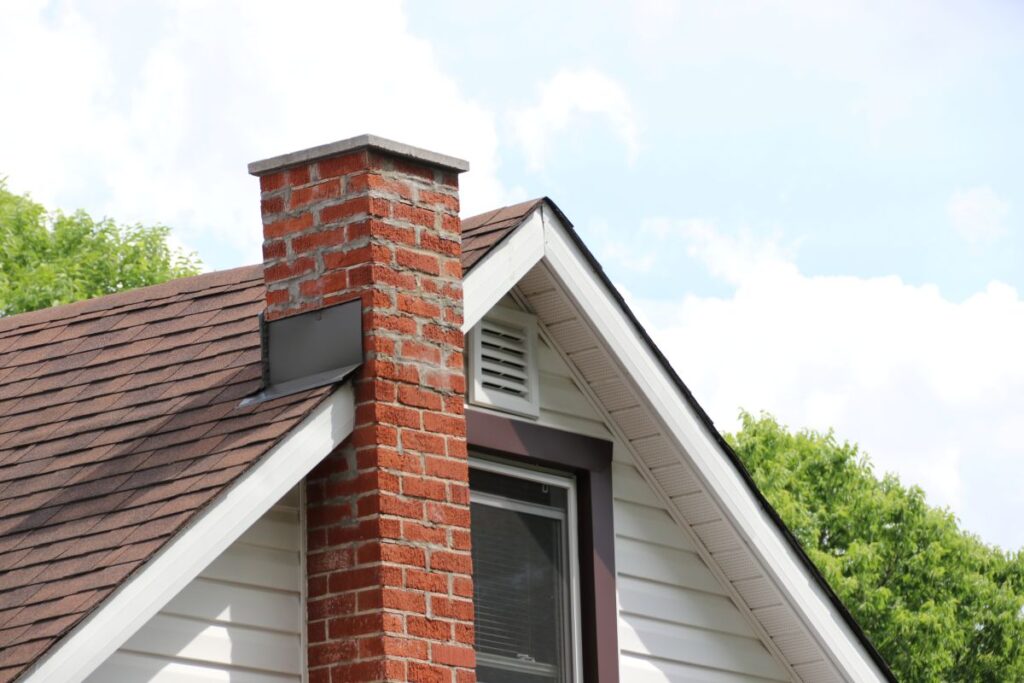
6. Assess Chimneys and Vents
Chimneys and vents are common leak points. Examine mortar for cracking, bricks for looseness, and vent covers for rust or detachment. Any gaps may allow moisture in.
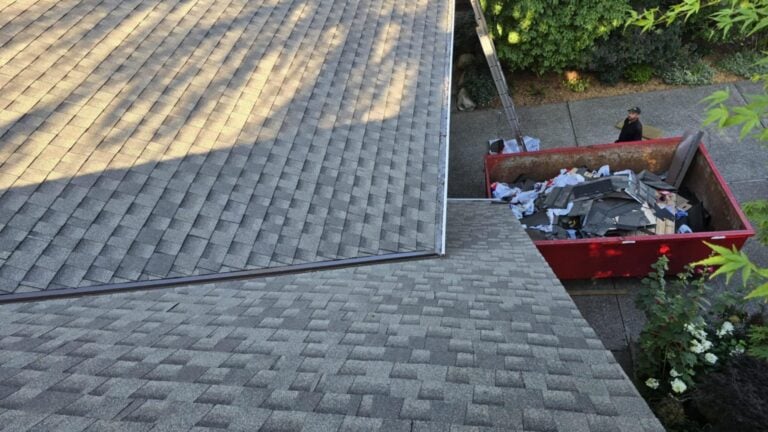
7. Note Any Missing or Damaged Components
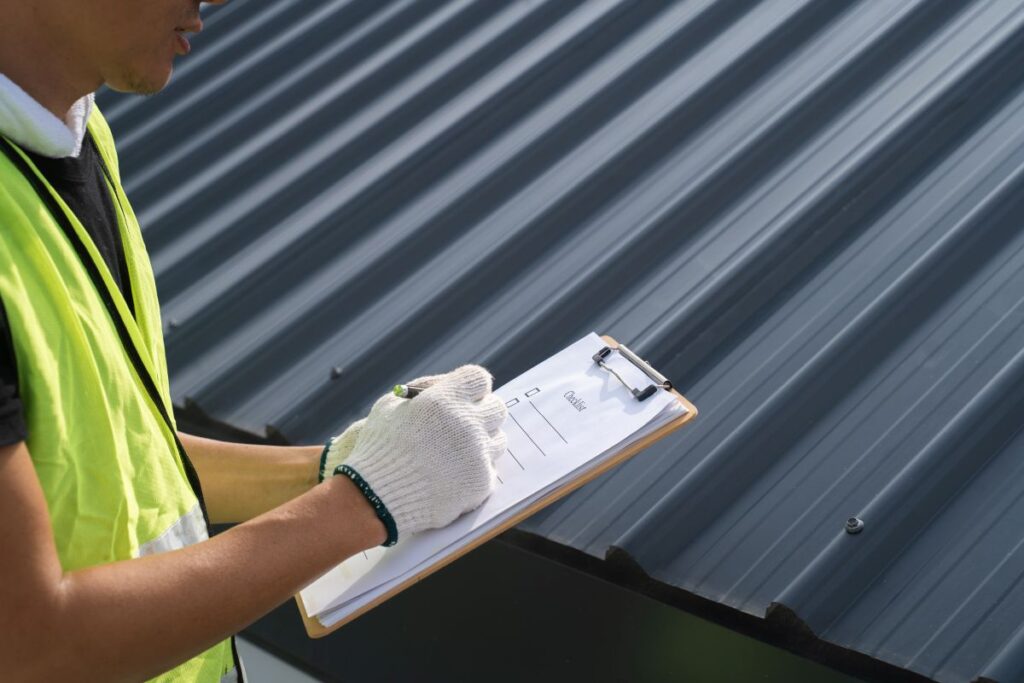
Make a final pass and document any trouble spots. Create a prioritized list separating urgent issues from routine wear. Taking photos can support insurance claims or contractor assessments.
8. Evaluate Roof Edges and Valleys
Check along edges, valleys, and roof intersections—areas prone to water collection. Look for signs of wear, cracking, or blocked flow.
9. Confirm Overall Roof Drainage
Ensure water is flowing away from the roof and not pooling near foundation lines. Check grading, splash blocks, and downspout extensions.
Roof Inspection Frequency and Focus
Here’s a quick guide to how often you should inspect your roof and what to look for each time:
| Timing | Inspection Focus |
| Spring | Winter storm damage, moisture buildup, flashing |
| Fall | Pre-winter readiness, gutter function, seal checks |
| After major storms | Shingle damage, debris accumulation, flashing |
| Annually (minimum) | Overall health, attic signs, aging components |
Common Roof Damage Signs and When to Call Professionals
Some types of roof damage can be spotted early during regular inspections, but others may require the trained eye of roofing contractors to fully assess. Recognizing these warning signs will help you avoid long-term issues and protect the full integrity of your roofing system.
- Persistent leaks: If you’re seeing stains on ceilings, bubbling paint, or hearing drips during storms, there may be hidden water intrusion affecting the roof deck and attic insulation.
- Multiple missing shingles: One or two missing shingles is common over time, but larger areas without coverage expose your roof surface to direct weather and should be addressed quickly.
- Sagging rooflines: Any noticeable dip or bow in the roof could mean compromised internal supports, moisture saturation, or long-term degradation of structural materials.
- Damaged flashing: Rusted or separated flashing allows water to seep in where different roofing components meet. This can lead to widespread damage if ignored.
FAQ: Roof Inspection Checklist
Staying informed can make all the difference when it comes to maintaining your roof. These frequently asked questions help clarify how often to inspect, what to look for, and when to call in the pros.
- How often should I inspect my roof?
Twice a year—typically in spring and fall—and after major storms. - Can I inspect the roof myself?
Yes, for basic signs. Use binoculars and a checklist. Hire a pro for anything unclear. - What tools do I need?
Ladder, binoculars, flashlight, gloves, camera, and safety gear. - What risks are involved?
Falling, slipping, or misdiagnosing damage. Only climb the roof if it’s safe. - When is it time for a full replacement?
If your roof is 20–25 years old or has widespread damage that can’t be patched.
Take Control of Your Roof’s Condition Today
Being proactive about roof inspections helps you catch small issues before they grow into expensive repairs. By using this roof inspection checklist and sticking to a seasonal routine, you can protect your home, extend the life of your roof, and feel confident heading into every season. Army Roofing is here to support you—whether you need help identifying damage, verifying insurance claims, or working with roofing contractors on repairs and replacements. Contact us today to schedule a professional inspection and keep your roof performing at its best.
Recent Articles
The Roof Blog