How to Get Insurance to Pay for Roof Replacement (5 Steps)
A damaged roof can be stressful and expensive—but if the issue was caused by a storm, falling debris, or another covered event, your homeowners insurance may cover some or all of the cost. Knowing how to get insurance to pay for roof replacement can save you thousands and ensure your home stays safe and protected. The process requires documentation, communication, and coordination, but with the right approach, you can make it as smooth as possible.
This guide explains:
- Coverage basics: What most insurance policies include
- Documentation tips: How to record damage properly
- Claim process: Steps to file and follow up successfully
- Common mistakes: What to avoid when working with insurers
- Professional help: Why working with a roofing contractor matters
Understanding Roof Insurance Coverage
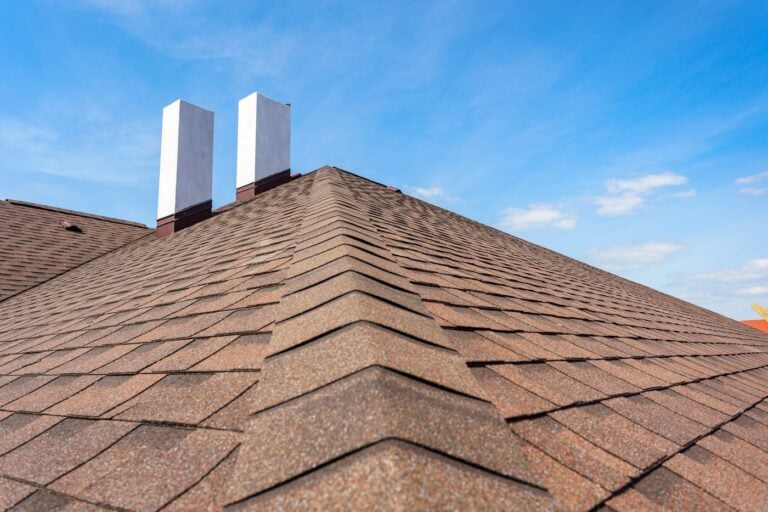
Insurance doesn’t cover every type of roof damage. Most policies pay for roof replacement when damage results from a sudden, accidental event—like a hailstorm, strong wind, or fallen tree. However, they typically don’t cover issues caused by age, neglect, or normal wear and tear.
In areas like Delta, BC, where heavy rainfall and high winds are common, insurers often see claims related to storm damage and water infiltration. Understanding what’s included in your policy helps you set realistic expectations and avoid surprises later.
5 Steps to Get Insurance to Pay for Roof Replacement
Getting your insurance company to cover your roof replacement can seem overwhelming, but the process becomes much simpler when you know what to do and in what order. These five steps will help you stay organized and increase your chances of full coverage.
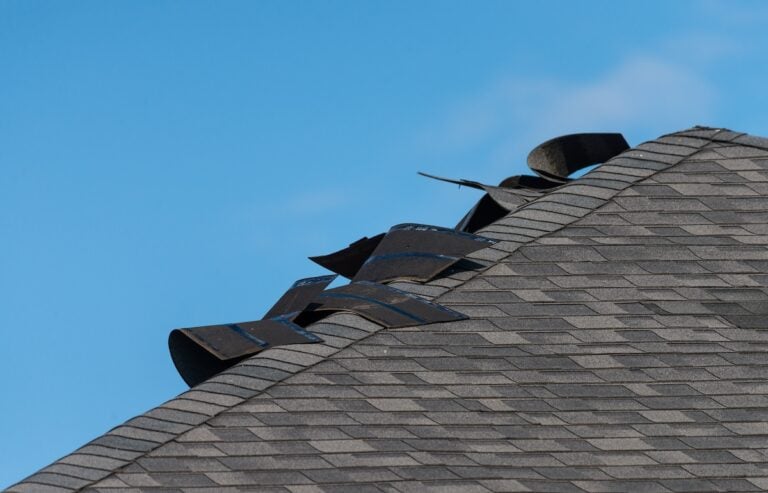
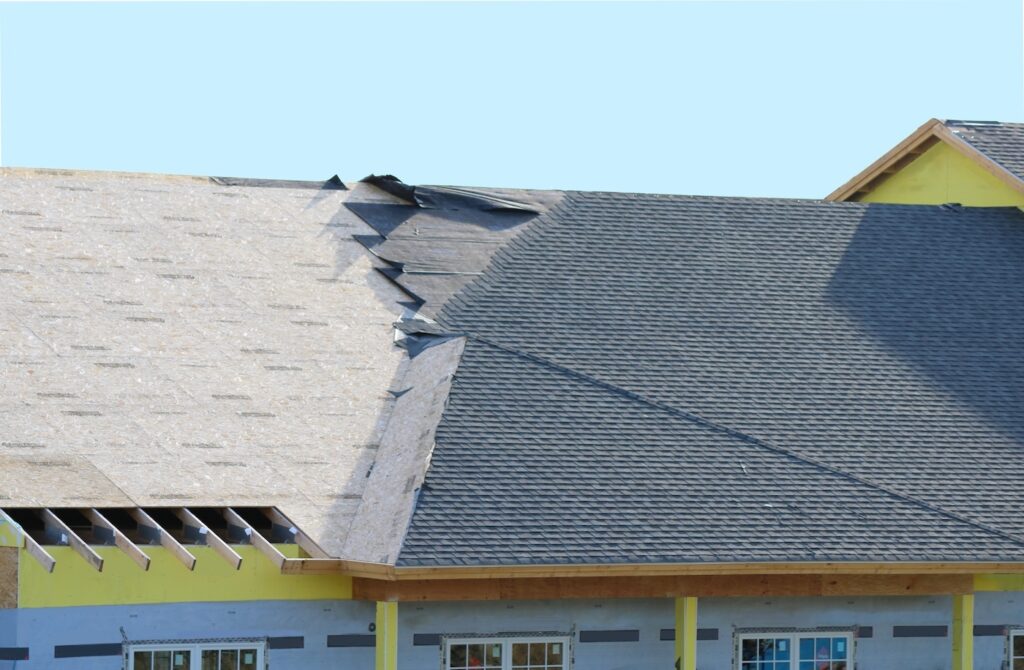
Step 1: Assess and Document the Damage
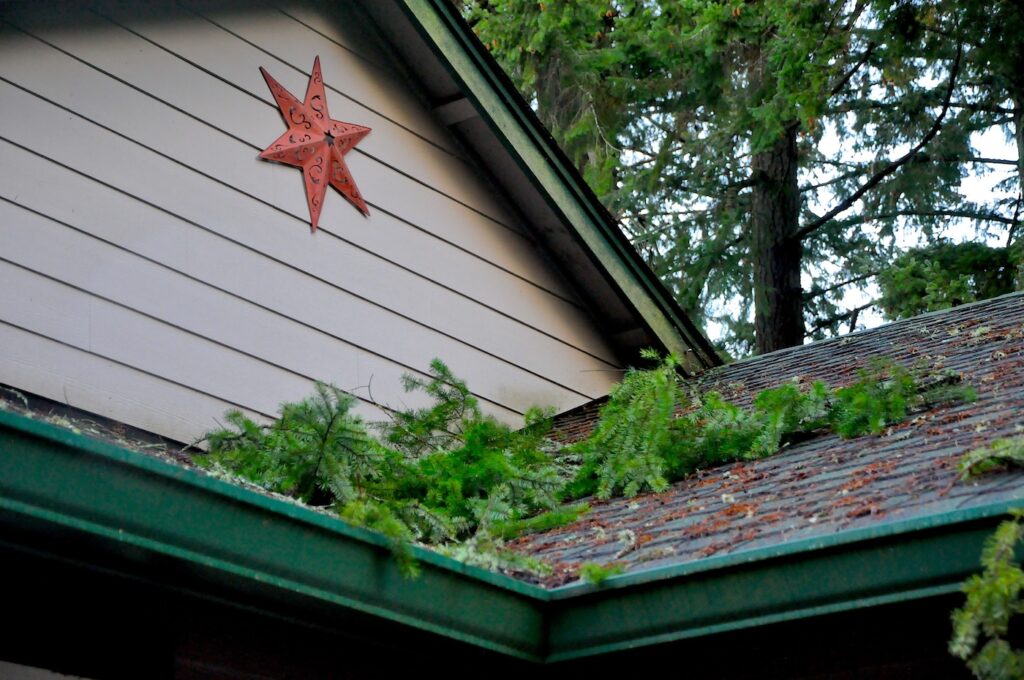
Start by safely inspecting your property after a storm or major weather event. Walk around the perimeter and look for visible signs of damage—missing shingles, cracked flashing, or fallen debris. Inside, check your attic ceiling for damp spots, sagging insulation, or discoloration.
Documentation checklist:
- Take clear, time-stamped photos and videos from multiple angles.
- Include wide shots of your roof and close-ups of the damage.
- Save any debris (like shingles or branches) that may help prove storm impact.
- Avoid doing major repairs until the adjuster visits, unless temporary fixes are needed to prevent leaks.
The goal here is simple: gather proof that the damage was sudden and caused by a covered event—not general wear or neglect.
Step 2: Review Your Insurance Policy
Understanding your policy before filing a claim can prevent major headaches later. Take 10–15 minutes to read the section covering wind, hail, or “acts of nature.”

You’ll want to identify:
- Coverage type: Does your plan pay “replacement cost” (full value) or “actual cash value” (depreciated)?
- Deductible: The amount you’ll pay out of pocket before insurance kicks in.
- Age clauses: Some insurers reduce payouts if your roof is more than 10–15 years old.
If your policy language feels confusing, ask your roofing contractor to review it with you—they deal with insurance terms daily and can translate it into plain English.
Step 3: Contact Your Insurance Company
Once you’ve documented the damage and reviewed your coverage, call your insurer’s claims department right away. Be concise and factual about what happened. Mention the date of the event (storm, wind, or impact) and describe visible damage without exaggerating.
During the call:
- Ask what forms or photos are required.
- Confirm if temporary tarps or emergency roof repairs are allowed.
- Request a claim number and the expected date for your adjuster’s visit.
- Write down the representative’s name, phone number, and call time for your records.
Prompt reporting helps prove the damage was recent and keeps your claim on schedule.
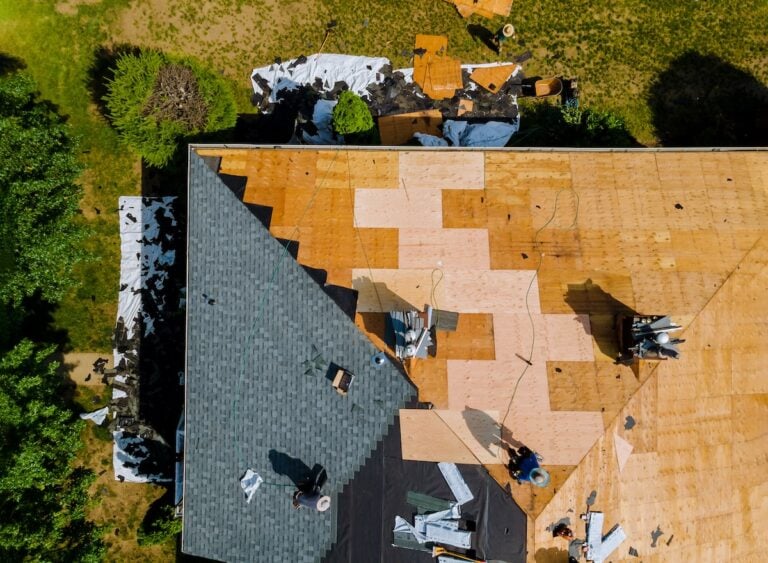
Step 4: Schedule a Professional Roof Inspection
This is where a trusted roofing contractor becomes invaluable. Schedule an independent inspection before the insurance adjuster arrives. Roofers are trained to find subtle issues—like lifted flashing or roof deck cracks—that adjusters may overlook.
A quality inspection includes:
- A detailed written report with photos.
- An estimate for roof repair or replacement costs.
- Notes about specific weather-related causes of the damage.
Providing this report to your insurer strengthens your case and helps ensure you’re approved for a full roof replacement rather than a partial repair.
Step 5: Meet with the Adjuster and Follow Up
When the adjuster arrives, try to have your roofing contractor present. They can point out technical issues and make sure the inspection is thorough.
Once your adjuster completes their review:
- You’ll receive an estimate or approval letter summarizing what’s covered.
- Review the payout carefully—it should include materials, labor, and cleanup costs.
- If the payout seems low, your contractor can submit additional documentation to support a reevaluation.
Staying engaged through this process helps prevent underpayment and ensures your insurance company provides the full coverage your policy promises.
Common Mistakes That Delay or Deny Claims
Avoiding these errors can help your claim move smoothly and prevent unnecessary setbacks:
- Starting repairs too soon: Wait until after the adjuster visit unless emergency work is required.
- Lack of documentation: Insufficient photos or missing inspection reports can weaken your case.
- Ignoring small leaks: Even minor issues can worsen and become harder to link to storm events later.
- Working with unlicensed contractors: Insurance companies often require licensed, insured roofers for approved repairs.
Tips for a Successful Roof Replacement Claim

These simple habits can make the difference between a smooth claim and a frustrating one. Staying organized, proactive, and well-documented gives your insurer everything they need to process your roof replacement quickly and fairly.
- Act quickly: Most insurance policies have strict filing deadlines.
- Keep detailed records: Save all receipts, photos, and correspondence.
- Get multiple estimates: This helps verify repair costs and avoid underpayment.
- Be proactive: Communicate frequently with your insurer to prevent delays.
- Use reputable professionals: Choose a contractor experienced in insurance claims and local building codes.
Get Expert Help with Army Roofing
Navigating an insurance claim for a roof replacement can feel overwhelming, but you don’t have to handle it alone. Army Roofing specializes in helping homeowners through every step—from inspections and documentation to working directly with insurance adjusters.
We’re proud to serve homeowners in Delta, BC, and nearby communities with reliable roof inspections, roof replacement, and repair services. Schedule your free inspection today and let Army Roofing help you maximize your coverage, protect your investment, and restore your roof with confidence.
Recent Articles
The Roof Blog