How to Install Architectural Shingles (Explained in 7 Easy Steps)
When it comes to enhancing the durability and aesthetic appeal of your home’s roof, knowing how to install architectural shingles is essential. Architectural shingles are a popular choice due to their superior strength and layered look compared to traditional 3-tab shingles. If you are planning a roofing project or want to understand how this sophisticated roofing material is applied, this guide will walk you through the entire process with clear steps. For professional solutions or assistance, explore our detailed residential roofing services to find expert help tailored to your roofing needs.
- Understand why architectural shingles are superior to traditional options
- Learn the necessary tools and materials before starting the installation
- Follow a step-by-step walkthrough of the installation process
- Discover tips to avoid common mistakes during installation
- Understand maintenance tips to prolong your roof’s lifespan
Why Knowing How to Install Architectural Shingles Matters
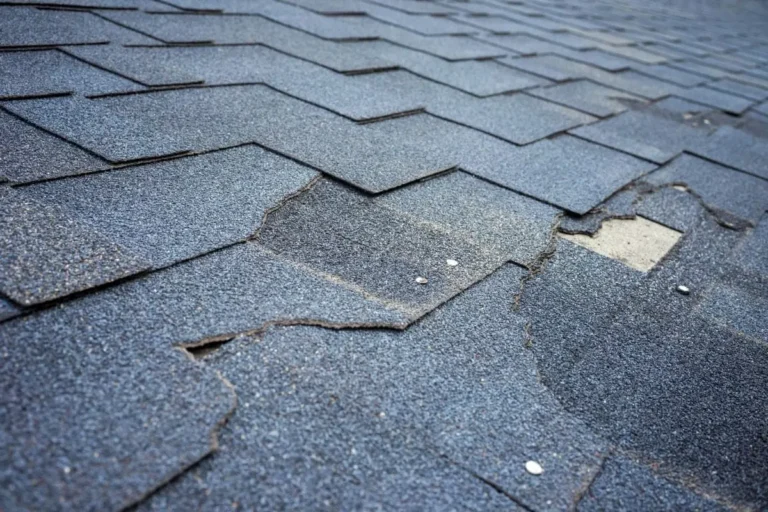
Architectural shingles combine functionality and style, making them a top roofing choice for homeowners. Proper installation ensures these shingles provide maximum protection against weather while enhancing curb appeal. Poor installation, however, can lead to leaks, reduced lifespan, and costly repairs.
- Durability: Architectural shingles provide enhanced resistance to wind and weather
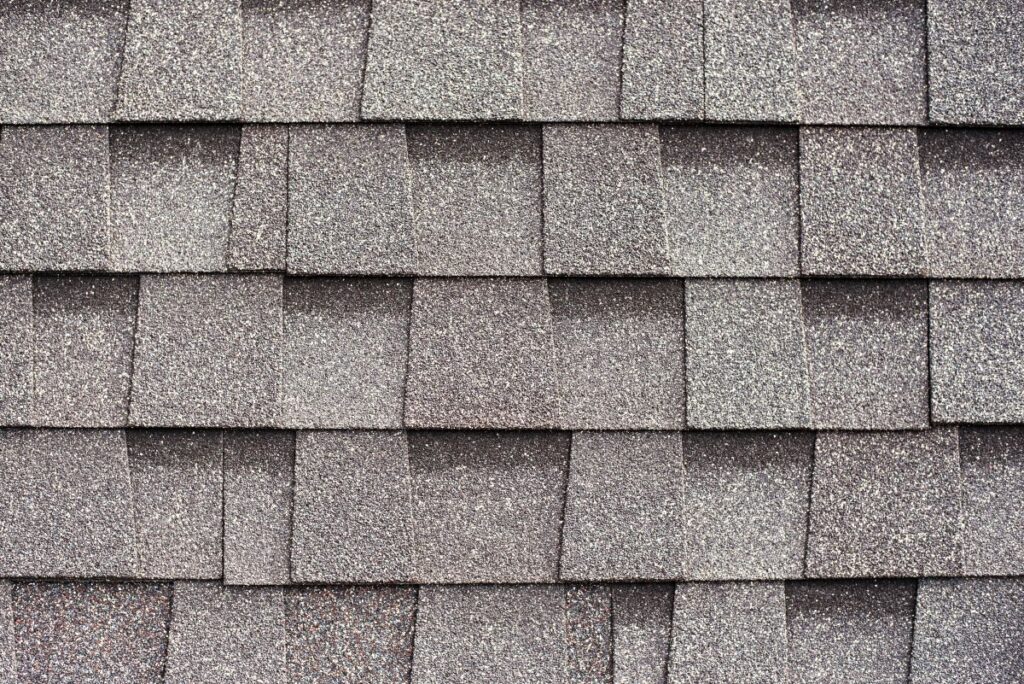
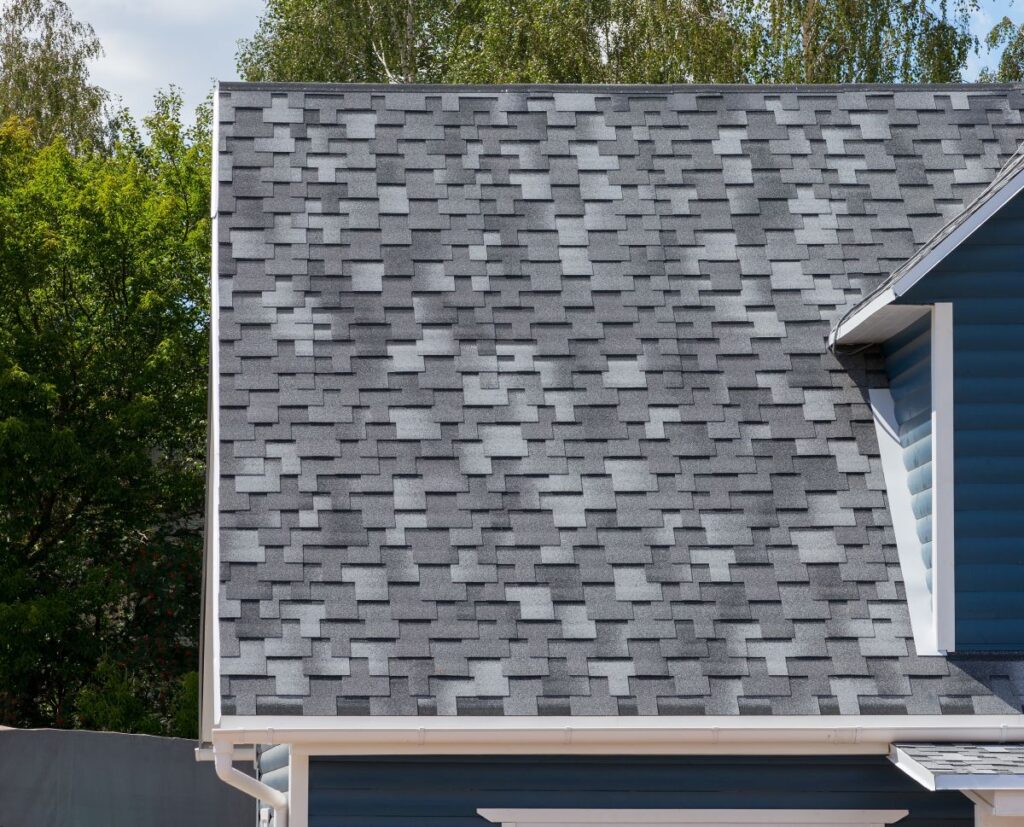
- Aesthetic value: Their layered design adds depth and character to your roof
- Increased home value: A quality roof boosts property marketability
- Energy efficiency: Properly installed shingles can improve insulation performance
- Cost-effectiveness: Knowing installation can help reduce labor costs
7 Essential Steps on How to Install Architectural Shingles
Installing architectural shingles requires careful attention to detail to maximize performance and appearance. Below are 7 straightforward steps that walk you through the installation process.
1. Prepare the Roof Surface
Before starting, ensure your roof deck is clean, dry, and in good condition. Remove any old shingles, nails, debris, or damaged sheathing to create a smooth surface for installation.
- Inspection: Check for rot or damage and replace affected sections
- Cleaning: Sweep and clear the area to provide an even base
2. Install Underlayment
Lay down roofing felt or synthetic underlayment to provide an additional water barrier. This step prevents moisture from penetrating the roof deck, protecting the home from leaks.
- Overlap edges: Each layer should overlap by at least 4 inches
- Secure fastening: Use roofing nails to securely attach the underlayment
3. Apply Starter Strips
Starter strips are crucial for providing a solid base for the first row of shingles and preventing wind uplift. These strips are placed along the eaves and rakes of the roof.
- Alignment: Ensure they are straight and flush with the roof edge
- Material: Use manufacturer-recommended starter strips or cut shingles
4. Lay the First Course of Shingles
Begin with the first row of architectural shingles over the starter strips. Position the shingles carefully and nail them down following manufacturer specifications to ensure secure attachment.
- Nail placement: Nails should be placed in the designated nailing areas
- Shingle alignment: Keep the shingles straight for a neat appearance
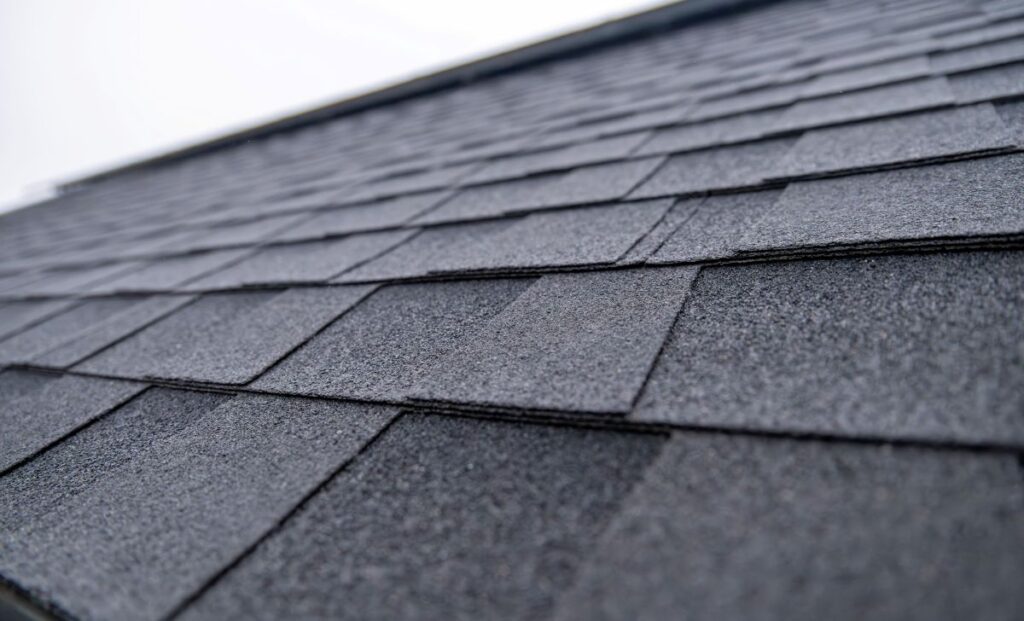
5. Continue Installation with Proper Staggering
Architectural shingles should be installed with staggered seams to enhance water shedding and wind resistance. Follow a pattern that offsets each row’s joints from the previous one.
- Shingle exposure: Typically between 5 to 6 inches, ensure consistency
- Offset pattern: Shift each course by about 6 inches or as recommended
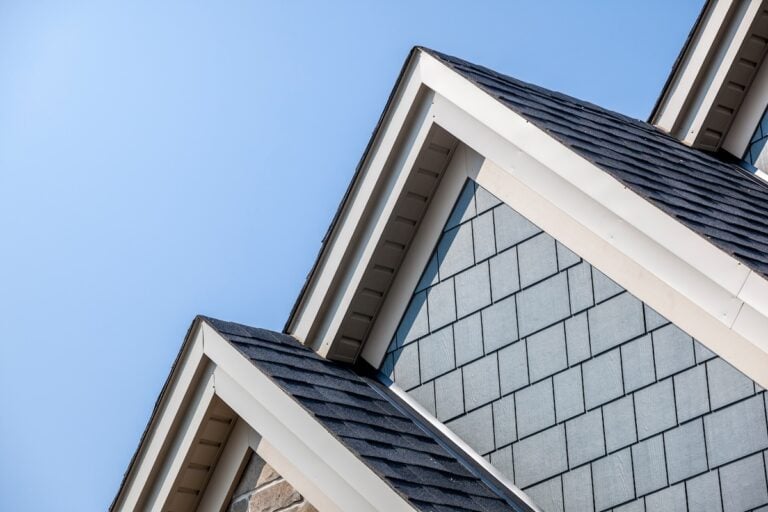
6. Address Roof Edges and Valleys
Edges and valleys require special attention to prevent water infiltration. Use metal drip edges along perimeter eaves and rakes, and install valley flashing to direct water flow safely off the roof.
- Drip edge: Installed beneath the underlayment at eaves and over it at rakes
- Valley treatment: Open or woven valleys should be properly flashed
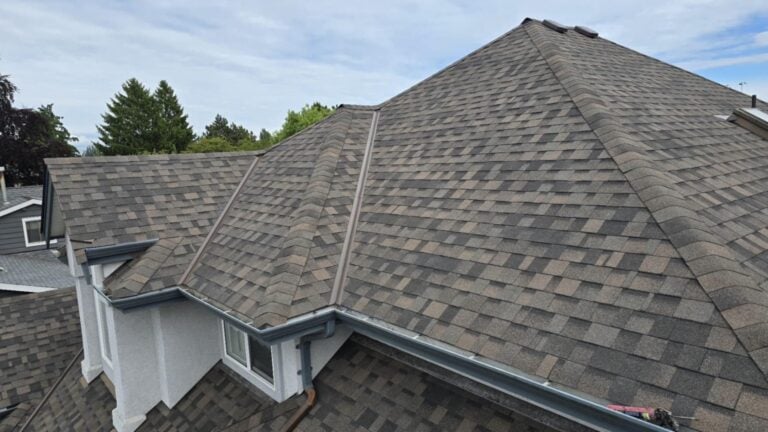
7. Finish with Ridge Cap Shingles
The ridge line is where two roof planes meet and is vulnerable to weather exposure. Installing ridge cap shingles provides a clean finish and ensures protection from wind-driven rain.
- Shingle cutting: Use specially designed ridge caps or cut shingles to fit
- Nailing: Secure with nails placed about 6 inches apart
Additional Tips and Tools Needed for Architectural Shingle Installation
Along with the steps outlined, having the right tools and following best practices is key to a successful roofing project. Preparation guarantees safety and efficiency during installation.
Essential Tools
Make sure you have the following on hand to streamline the installation:
- Hammer or roofing nail gun: For securing shingles quickly
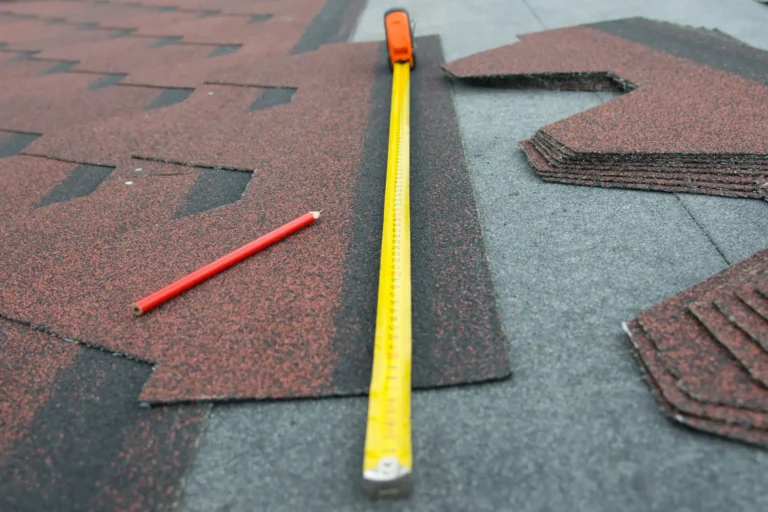
- Utility knife: To cut shingles and underlayment accurately
- Measuring tape and chalk line: To maintain straight rows and proper exposure
- Ladder and safety harness: For safe roof access and work
- Roofing nails: Galvanized and compatible with shingles
Pro Installation Tips
These tips help avoid common issues and improve roof longevity:
- Follow manufacturer instructions: Each brand’s shingles may have specific requirements
- Work on dry days: Safety and adhesion are better without moisture
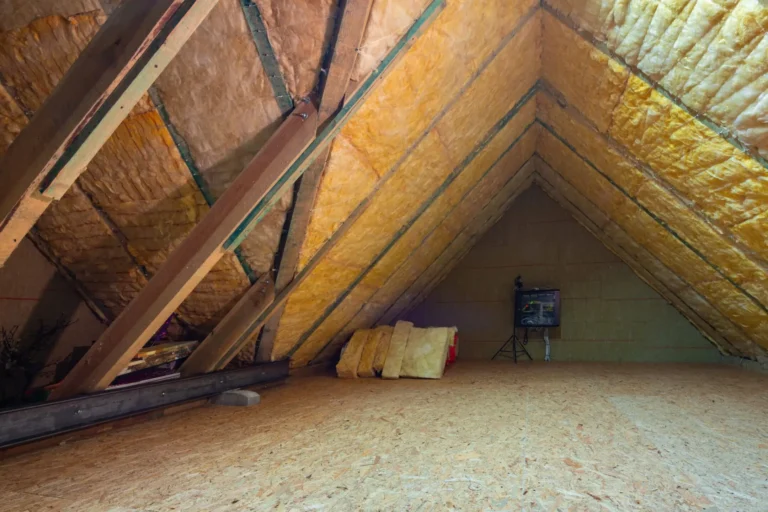
- Proper ventilation: Ensure your attic is ventilated to prevent heat buildup under shingles
- Inspect work regularly: Check alignment and nail patterns throughout the project
Common Challenges and Solutions During Architectural Shingle Installation
Even experienced roofers face challenges when installing architectural shingles. Recognizing typical issues and learning how to address them can save time and money.
Wind uplift problems
Improper use of starter strips or poor nail placement can result in shingles lifting during strong winds. Ensuring the starter course is aligned and securely fastened, and using the correct number of nails per shingle, helps prevent this.
Leaks and water penetration
Roof valleys, flashing areas, and seams are common leak zones when not installed or sealed correctly. Applying high-quality flashing materials, using waterproof underlayment in valleys, and overlapping materials properly can significantly reduce leak risk.
Uneven shingle lines
Misaligned shingles not only impact the appearance of your roof but also reduce its performance. Using a chalk line every few rows ensures shingles remain level and evenly spaced throughout installation.
Frequently Asked Questions About Architectural Shingle Installation
Here are answers to common questions homeowners often ask before starting a roofing project involving architectural shingles.
- How long does the installation process usually take?
The duration depends on the roof size and complexity but typically ranges from 1 to 3 days for an average-sized home. - Can I install architectural shingles over existing shingles?
While it is sometimes possible to install over one existing layer, it is generally recommended to remove old shingles for the best results and to prevent issues. - What maintenance is required after installation?
Regular inspections for damaged shingles, clearing debris, and ensuring ventilation help extend roof life. - Are architectural shingles more expensive than traditional 3-tab shingles?
Yes, they tend to cost more upfront but offer better durability and a longer lifespan, providing better value over time.
Begin Your Architectural Shingle Project with Army Roofing
Understanding how to install architectural shingles empowers homeowners to make informed decisions or supervise roofing projects confidently. Proper installation not only boosts your home’s safety but also improves its overall look and value. For expert guidance and professional roofing solutions, reach out to Army Roofing. Contact us today to discuss your residential roofing needs in your area and surrounding locations.
Recent Articles
The Roof Blog