8 Steps: How to Install Metal Roofing (Explained In 8 Steps)
Learning how to install metal roofing helps homeowners understand the process, set accurate expectations, and determine whether a project is suitable for DIY or requires a professional installer. Metal roofing is known for its durability, energy efficiency, and resistance to Delta’s coastal weather, making it an excellent long-term choice when installed correctly.
This guide covers:
- Tools and materials needed
- Installation preparation
- Eight clear installation steps
- A simple comparison table
- Additional planning and performance sections
- Key tips for long-lasting results
We’re proud to serve home and business owners in Delta, BC, and nearby communities with professional roofing inspections, repairs, and replacements that help protect and extend the life of their metal roofing systems.
Why Metal Roofing Installation Requires Careful Planning
Metal roofing outperforms many traditional systems, but proper planning prevents common mistakes such as loose fasteners, uneven panels, or moisture infiltration. Good preparation ensures the new roofing system fits securely, manages water properly, and avoids gaps that could impact performance over time. Careful planning also helps homeowners understand cost expectations, labor requirements, and how long the installation will take.
Metal Roofing Types Comparison
Before starting installation, it helps to understand the basic differences between common metal roofing products.
| Metal Type | Durability | Installation Difficulty | Notes |
| Steel | High | Medium | Most common, very durable |
| Aluminum | High | Low–Medium | Lightweight and corrosion-resistant |
| Copper | Very High | High | Premium, long-lasting, expensive |
| Zinc | Very High | Medium | Extremely long lifespan |
8 Steps for Installing Metal Roofing
Before beginning the installation, make sure the roof deck is clean, dry, and structurally sound. Avoid installing metal roofing over damaged sheathing or rotten framing. Measure thoroughly and gather all tools before climbing onto the roof.
1. Remove Old Roofing Materials
Removing the existing roof allows you to inspect the deck and ensure a secure base for metal panels.
- Strip shingles and nails: Clear debris and old underlayment.
- Inspect wood decking: Replace soft or damaged areas.
2. Install Underlayment and Drip Edge
A quality underlayment protects against moisture while the drip edge directs water away from the roof deck.
- Roll out underlayment evenly: Overlap courses and secure edges.
- Attach drip edge flashing: Fasten along eaves for protection.
3. Measure and Prepare Metal Panels
Accurate measurements ensure the panels fit correctly and reduce waste.
- Cut panels to proper length: Use metal snips or a shear.
- Pre-drill holes if needed: Helps with even fastener placement.
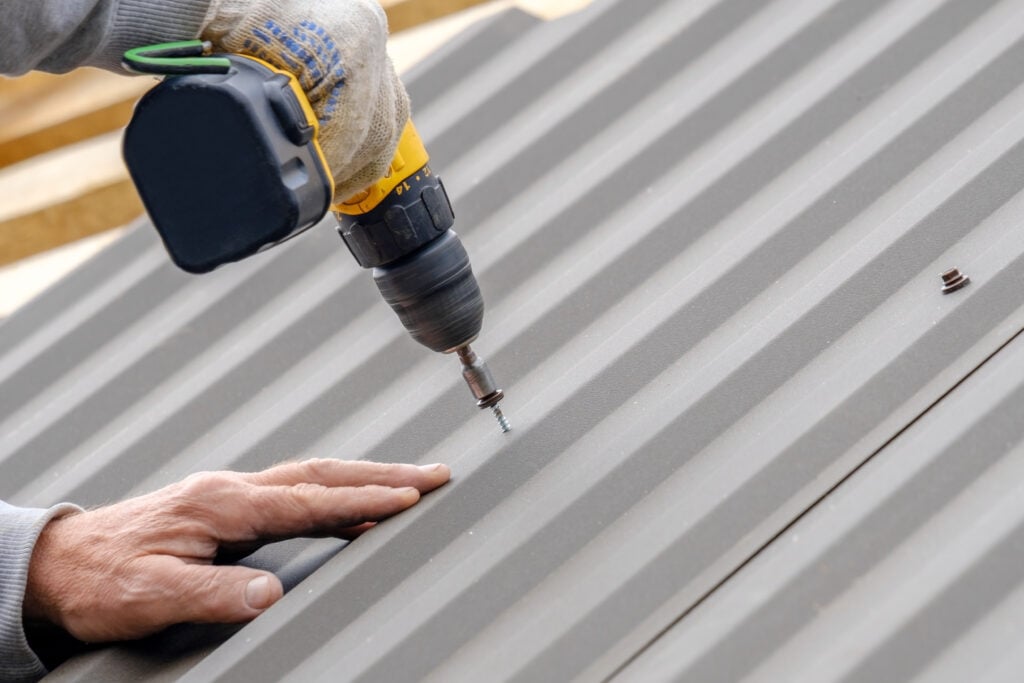
4. Install the First Metal Panel
The first panel determines alignment for the entire roof, so take your time.
- Square the panel carefully: Align with the eave and rake.
- Fasten securely: Use manufacturer-approved screws.
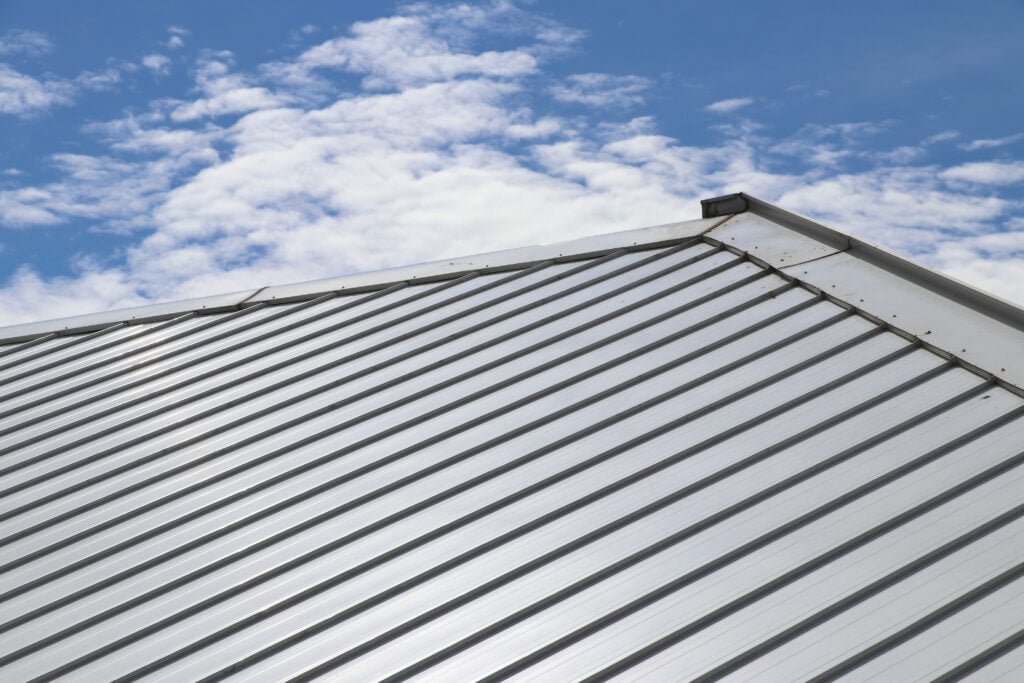
5. Overlap and Fasten Subsequent Panels
Each panel must overlap correctly to prevent water intrusion and wind uplift.
- Follow recommended overlap width: Typically one rib or a specific measurement.
- Drive fasteners in straight lines: Ensures consistent appearance and strength.
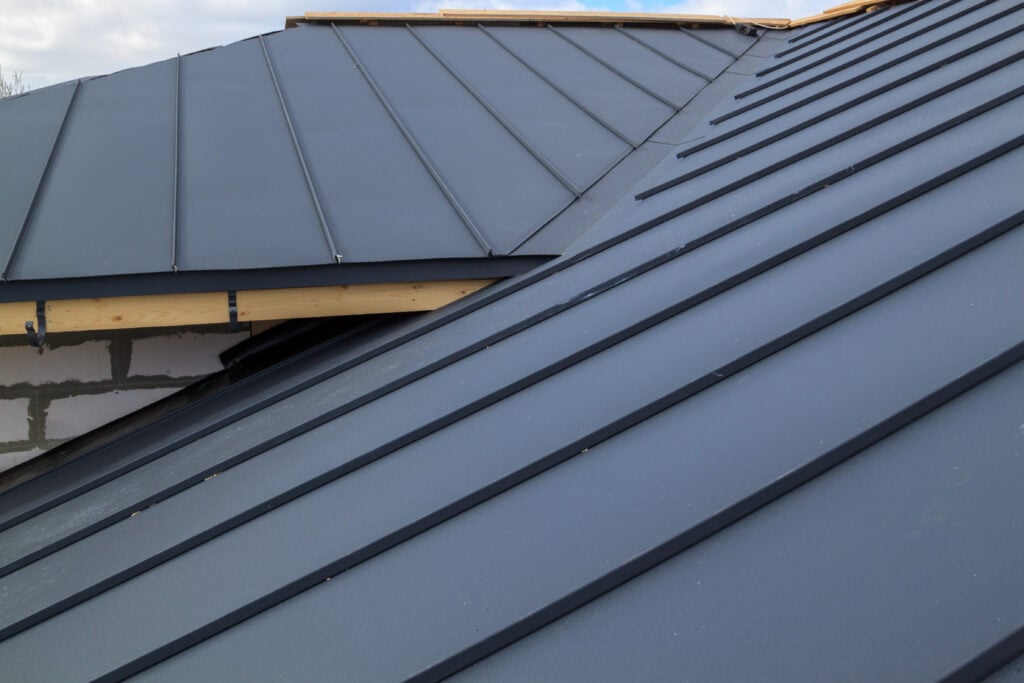
6. Install Ridge Caps and Trim
Trims protect edges and give metal roofing a finished look.
- Fit ridge caps at the roof peak: Seal gaps and improve water shedding.
- Attach side trim: Secure edges to block wind and moisture.
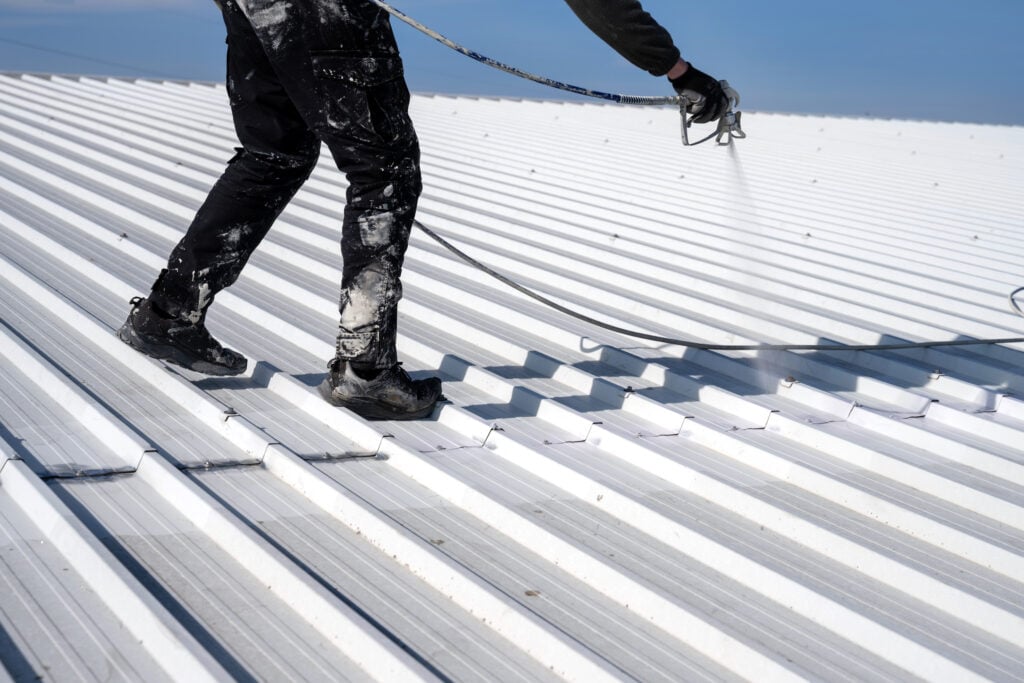
7. Seal Joints and Penetrations
Sealing prevents leaks around vents, chimneys, and fastener points.
- Apply sealant where needed: Use manufacturer-approved materials.
- Install boots around penetrations: Keep water out of vulnerable areas.
8. Inspect and Clean the Roof Surface
A final inspection ensures the entire system is secure and watertight.
- Check fasteners: Tighten any loose screws.
- Remove metal shavings: Prevent rust spots from developing.
Tools and Materials Homeowners Often Overlook
Even with a solid plan, some items get overlooked during installation. Including the right accessories and components helps ensure a smooth and durable metal roofing project.
Fasteners and Connectors to Keep on Hand
These smaller items can make a major difference in installation efficiency and final performance.
- Extra roofing screws: Helps replace stripped or dropped fasteners.
- Closure strips: Seal panel gaps from wind-driven rain.
- Specialty snips: Useful for trim and detail work.
- Long chalk line: Ensures straight and accurate panel alignment.
Installation Challenges and How to Avoid Them
Metal roofing installation presents unique challenges that homeowners should anticipate. Knowing how to avoid common issues ensures a smoother installation and a longer-lasting roof.
Weather Conditions and Material Handling
Temperature shifts affect how metal panels move, flex, and fasten. Installing during extreme heat or cold can make handling panels more difficult and may lead to expansion-related issues later. Storing panels flat, covered, and off the ground also prevents moisture exposure that could affect installation quality.
Fastening and Alignment Issues
Incorrect fastening techniques can weaken the overall roof system and shorten its lifespan. Checking panel alignment frequently prevents visible misalignment, and following manufacturer torque guidelines ensures screws are neither too tight nor too loose, reducing potential leak points and maintaining long-term performance.
Safety Considerations During Installation
Metal roofing installation requires careful attention to safety, especially when working on elevated surfaces or handling long, sharp panels. Using proper fall protection, wearing gloves, and securing ladders helps prevent accidents, while avoiding installation during wet or windy weather reduces the risk of slipping or losing control of materials.
Maintenance Tips for Long-Lasting Metal Roofs
Keeping your metal roof in top condition extends its lifespan and preserves its appearance.
- Clear debris regularly: Leaves and branches can trap moisture.
- Check fasteners annually: Metal movement may loosen screws over time.
- Inspect after storms: Identify bent panels or damage early.
- Clean gutters: Prevent water backup around panel edges.
Why Homeowners Trust Army Roofing for Metal Roofing Support
Installing metal roofing requires precision, quality materials, and experience working with complex roof systems. Army Roofing helps Delta homeowners protect their investment through detailed inspections, long-lasting repairs, and honest assessments. Our team provides dependable service built around safety, communication, and long-term roof performance.
Whether you’re planning a future installation, need help evaluating your existing roof, or want expert guidance on the best metal roofing options, Army Roofing is here to support your home’s protection year round. Contact Army Roofing today to schedule a roof assessment.
Recent Articles
The Roof Blog