How to Install a Roof Vent
Installing a roof vent is a necessary step in ensuring that your home is properly ventilated. Roof vents help to remove heat and moisture from your attic, which can prevent serious damage to your home. This guide will show you how to install a roof vent in just a few simple steps. By following these instructions, you can help keep your home safe and comfortable for years to come. With that being said, let’s get started!
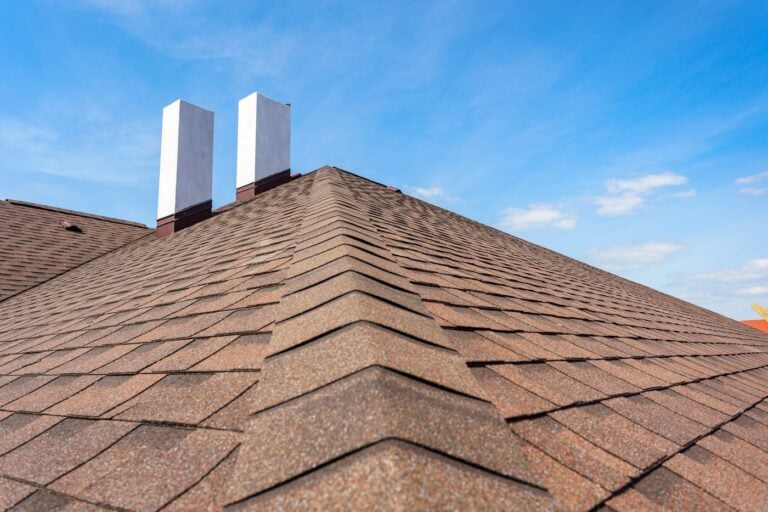
What is a Roof Vent and do You Need One?
A roof vent is a type of roof accessory typically used to redirect hot air that builds up in attics away from the living space of the home. It’s important to have a vent in your roof, because without one, moisture can become trapped under the eaves and cause structural damage to the home, plus promote roofing mold and rot throughout the walls and ceilings. Additionally, by allowing hot attic air to escape, a roof vent can improve overall energy efficiency. By helping regulate an appropriate temperature balance throughout a household, users may be able to save money on cooling costs during warmer seasons. Overall, having a roof vent installed is an essential part of proper attic ventilation which will help keep homes safer, healthier and more comfortable for their inhabitants. For homeowners curious about how vents work together with flashing systems, our guide on roof flashing explains how these components help protect your attic from leaks and moisture damage.
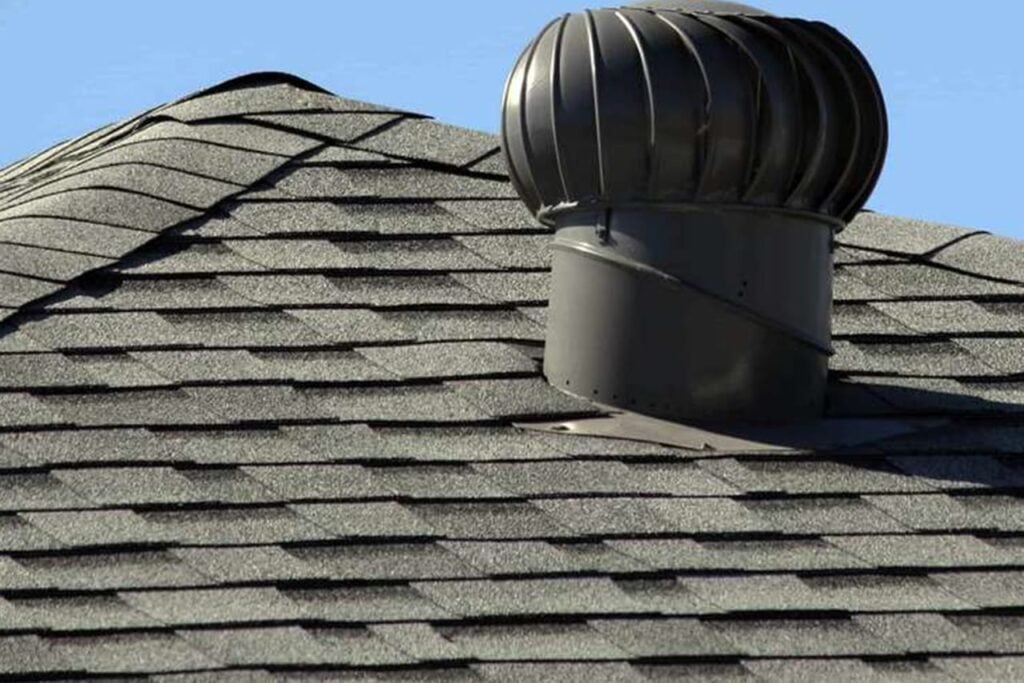
The Different Types of Roof Vents
A well-ventilated home is an essential part of a healthy home environment. To ensure proper airflow, many homeowners install roof vents to push out hot air and bring in fresh air from outdoors, as well as help with moisture and humidity control. There are several different types of roof vents that can be used for this purpose, including power roof vents, louvered roof vents, and turbine roof vents. Power roof vents rely on electricity to power the motors that generate suction and exhaust stale air rapidly. Louvered roof vents combine the weather protection of louver blades with the ability to create high volumes of airflow at all times. And finally, turbine roof vents activates when the wind spins their cup-shaped structure; they usually require little roofing maintenance or repair once they are installed. However, it is important to consult a licensed contractor before selecting a specific type of roof vent for your own home’s ventilation needs. If you’re unsure which option suits your home best, our article on how long roofs last in Canada provides insights into durability and climate considerations that can help guide your choice.
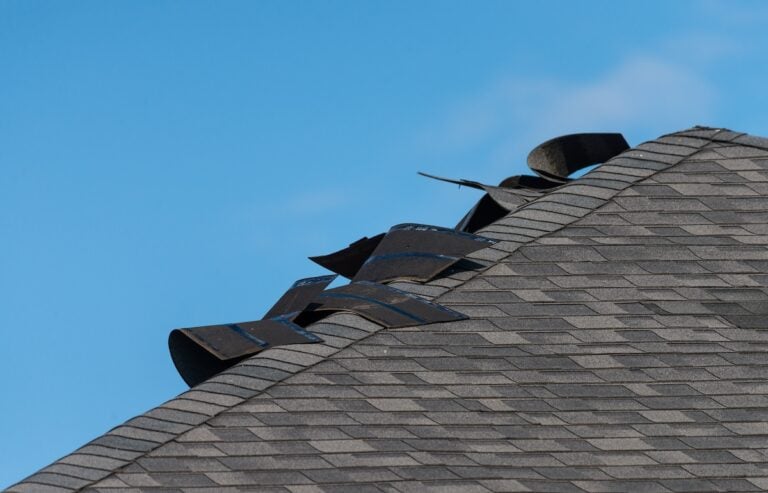
How to Install a Roof Vent
Installing a roof vent can be a straightforward task when you have the right tools and knowledge. To begin, measure the size of the hole you need to make and carefully use your drill to cut it into the shingles. If necessary, cover up any exposed nail heads with waterproof mastic. Next, slip the vent base underneath your shingles, line the screws up with pilot holes, and use them to fasten it in place securely. Finally, wrap around any formed edges where your roof meets with flashing tape for further protection and weatherproofing. With these simple steps, you’ll be able to install a roof vent efficiently and get back to whatever is on your busy schedule.
Army Proofing Tips:
- Vents should be installed at least 10 feet away from building materials (such as insulation) that could catch fire.
- If you live in an area with high winds, ensure your vent has substantial enough mounting brackets to keep it from blowing off during storms.
- Copper and aluminum are excellent options for metal vents because they won’t rust or corrode over time.
- If you’re installing plastic vents, make sure they’re made of non-flammable material like PVC or ABS plastic.
What to Consider When Choosing a Location for Your Roof Vent
Choosing the right location for your roof vent is essential in order to maximize its effectiveness and roof longevity. Before deciding on a specific spot, consider factors such as proximity to nearby trees and shrubs, energy efficiency of surrounding buildings, total area being covered by the vent, and any potential safety risks. Additionally, it is important to keep in mind whether or not the chosen location will be subject to a lot of debris or buildup from weathering. With these needed considerations taken into account, you can confidently make an informed decision that will provide superior rooftop ventilation.
If you live in the Delta region and need professional help determining the ideal placement, our team at Army Roofing Delta is available to assist with expert on-site evaluations.
Roof Vent Maintenance
Maintaining your roof vent is essential for keeping the inside of your home secure from the elements. Over time, leaves and other debris can build up, blocking air flow or causing damage to the shingles or other materials. It’s important to inspect the vent regularly in order to keep it free of any buildup that could lead to issues down the line. If you find any accumulation of debris, be sure to scrub it off with a brush and warm water. For areas which are tougher to access, you may use a non-corrosive cleaner such as vinegar or baking soda mixed with water. Following these instructions will prolong your roof’s health and prevent costly repairs in the future!
When homeowners in Ladner need help with this type of upkeep, our specialists at Army Roofing Ladner can provide maintenance, inspections, and preventative service to ensure vents stay in top working condition.
Conclusion – How to Install a Roof Vent
In conclusion, installing a roof vent is an important part of home maintenance. It helps to keep the home cool, reduce energy bills, and prevent damage caused by moisture buildup inside of your walls. Before selecting a vent, consider factors such as energy efficiency and safety risks in order to make sure you have chosen the right type for your needs. After installation, it’s important to inspect and maintain the vent regularly in order to ensure it is functioning properly. With these few simple steps, you can confidently install a roof vent that will provide superior ventilation for years to come!
With that said, if you need help with installing your roof vent at Army Roofing we can help! Don’t hesitate to contact us today to get a free quote! You can also checkout our Google My Business here. Our experienced team at Army Roofing Tsawwassen can install, repair, or replace roof vents to ensure long-term performance and protection.
Areas we service include:
- Ladner Roofing
- Roofing Surrey
- Roofing Vancouver
- Roofing North Vancouver
- Roofing Tsawwassen
Recent Articles
The Roof Blog