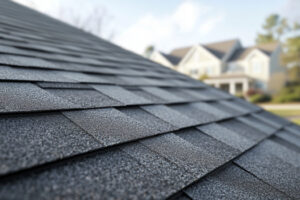
Your home’s roof is made up of many different parts that work together to protect you from the elements. One of the most important, yet often overlooked, components is roof flashing. Without it, even the strongest roofing system can be vulnerable to leaks, rot, and costly repairs. If you’re planning a new roof installation or simply want to understand how your roof works, knowing what flashing is and why it matters will help you make smarter decisions about your home.
Here’s what you’ll learn in this guide:
- What roof flashing is and why it’s essential
- The main types of flashing and how they work
- Common causes of flashing problems and how to spot them
- Practical homeowner tips for maintenance and prevention
- When it’s time to call in a roofing professional
🏠 Why Roof Flashing Matters for Your Home
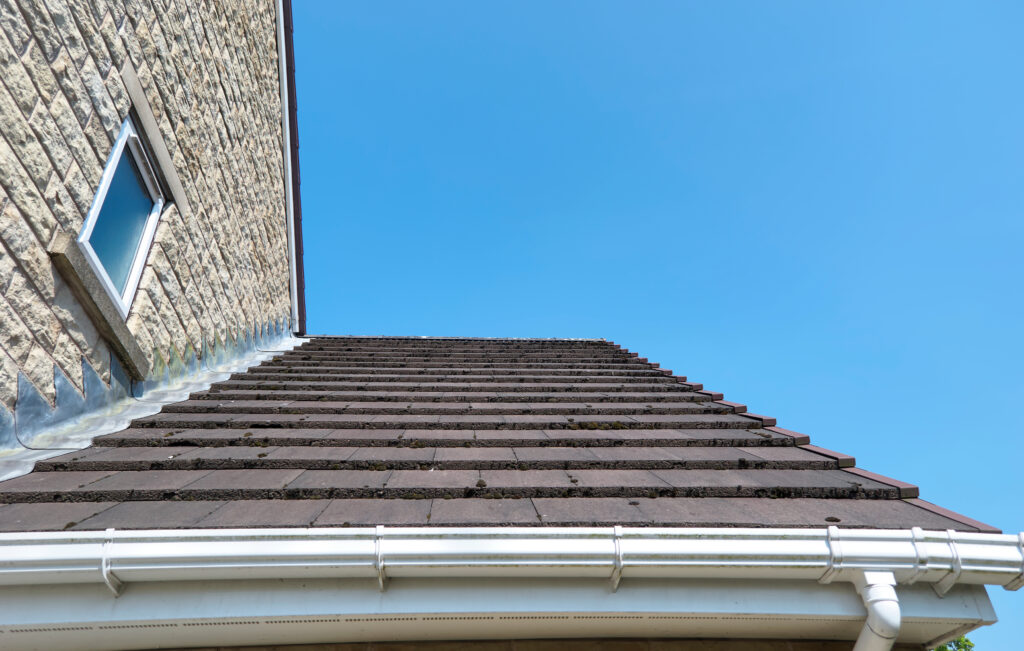
Roof flashing may seem like a small detail, but it plays a big role in your roof’s ability to keep water out. Flashing is the thin piece of metal (usually aluminum, galvanized steel, or copper) installed around vulnerable areas such as chimneys, skylights, vents, and where the roof meets a vertical wall.
Here’s why it’s so important:
- Waterproof Barrier: Flashing directs water away from seams, joints, and edges where leaks are most likely to occur.
- Structural Protection: By keeping water from seeping underneath shingles, it prevents wood rot and interior water damage.
- Longevity Boost: A roof with well-installed flashing can last significantly longer than one without.
- Energy Efficiency: Proper sealing reduces drafts and helps maintain consistent indoor temperatures.
- Peace of Mind: Knowing your roof has strong flashing means fewer surprise leaks during heavy rainstorms.
🔍 6 Key Parts of Roof Flashing
To better understand how flashing functions, it helps to break it down into the main types found on most residential roofs. Each has its own job in protecting your home.
1. Step Flashing
Step flashing is installed along the sides of chimneys or walls where the roof meets a vertical surface. It consists of small rectangular pieces of metal layered with shingles in a “step-like” pattern.
- Excellent at directing water away from walls
- Common in sloped roofing systems
- Must be properly overlapped to be effective
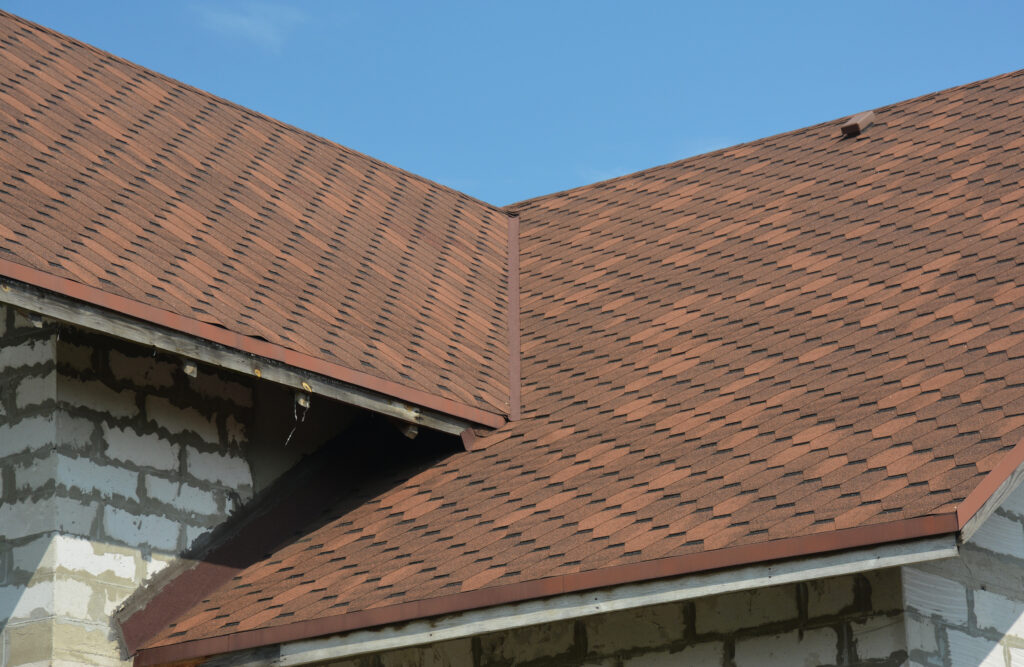
2. Valley Flashing
Valley flashing is used in the roof valleys — the areas where two roof slopes meet. Since valleys handle a large amount of water runoff, they’re particularly vulnerable to leaks.
- Often made from wide pieces of metal
- Channels water directly into gutters
- Critical for preventing leaks in high-flow areas
3. Vent Pipe Flashing
Also known as pipe boots, this flashing is installed around plumbing vent pipes. It typically has a cone-shaped piece that fits tightly over the pipe, with a base that seals to the roof.
- Keeps water from entering around circular penetrations
- Often made from rubber with a metal base
- Must be checked regularly for wear and cracking
4. Chimney Flashing
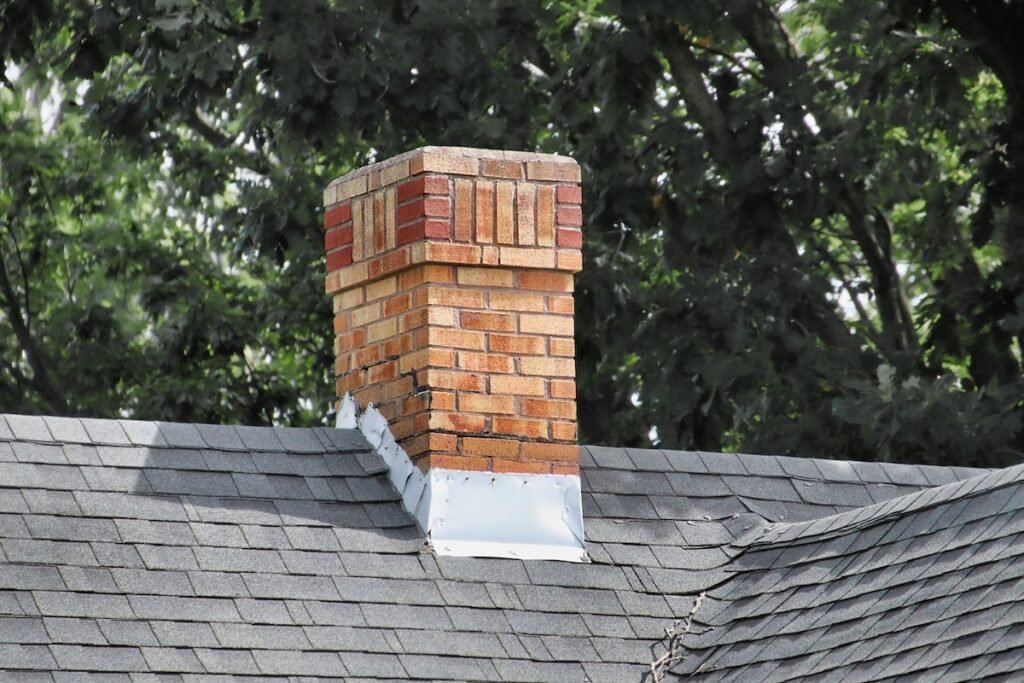
Chimneys require multiple flashing components, including step flashing, counter flashing, and sometimes saddle flashing. This creates a watertight barrier at all points where the chimney meets the roof.
- One of the most complex flashing areas
- Improper chimney flashing is a leading cause of roof leaks
- Needs periodic inspection due to high exposure
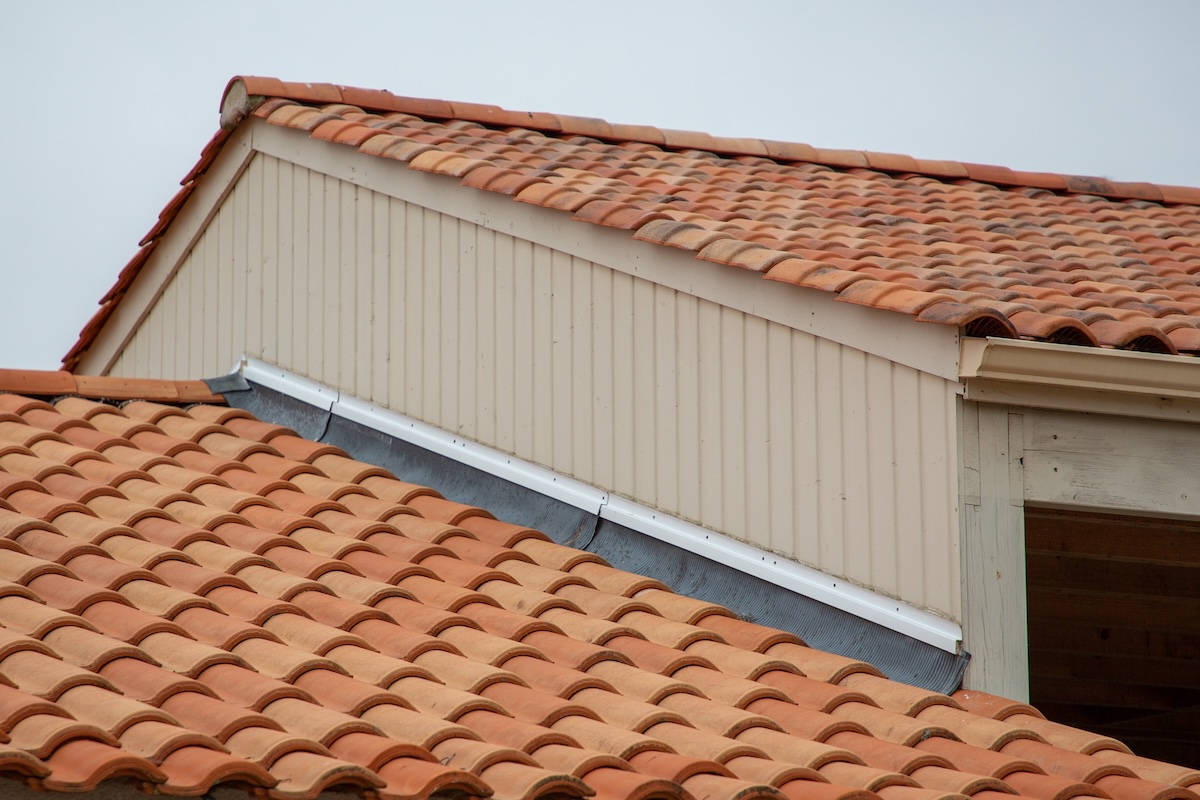
5. Drip Edge Flashing
Drip edge is installed along the roof’s edges. It keeps water from seeping under the shingles and protects fascia boards from moisture damage.
- Required by most modern building codes
- Helps extend the life of both roof and gutters
- Adds an extra layer of protection against wind-driven rain
6. Skylight Flashing
Skylights are beautiful but can be a challenge for waterproofing. Skylight flashing creates a seal between the skylight frame and the roofing materials.
- Often comes in manufacturer-specific kits
- Needs professional installation for best results
- Prevents leaks around one of the roof’s weakest points
🛠️ Common Roof Flashing Problems and Their Causes
Even the best flashing materials can fail if they’re not installed correctly or maintained. Here are the most common issues homeowners should be aware of.
1. Poor Installation
Improperly installed flashing is the number one cause of leaks. If flashing pieces aren’t overlapped correctly or sealed tightly, water will find its way in.
Signs to look for:
- Water stains on ceilings near chimneys or vents
- Shingles that look lifted or uneven near flashing
- Rust or gaps visible on flashing surfaces
2. Weather Damage
Extreme weather in British Columbia can take a toll on flashing. Heavy rains, windstorms, and freeze-thaw cycles can all lead to damage.
- Metal flashing may crack or warp
- Rubber boots around pipes may split
- Sealants may dry out or peel away
3. Corrosion or Rust
Over time, metal flashing can rust or corrode, especially if it wasn’t galvanized or if protective coatings wear off.
- Look for reddish-brown rust spots
- Check for pitting or thin metal
- Replace corroded flashing promptly to avoid leaks
4. Aging Materials
Like all parts of a roof, flashing has a lifespan. Rubber flashing around vents, in particular, tends to degrade faster than metal components.
- Cracking rubber seals
- Loose nails or screws
- Flashing pulling away from surfaces
5. Shingle or Roof Replacement Mistakes
When a new roof is installed, reusing old flashing is a common shortcut that can cause problems later. While reusing flashing may save money upfront, it often leads to leaks down the line.
🌦️ Seasonal Roof Flashing Checklist for Homeowners
Staying ahead of problems means checking your flashing regularly. Here’s a seasonal guide to help you stay proactive:
- Spring: Inspect for winter damage such as cracks or loose flashing. Clean gutters to ensure proper water flow.
- Summer: Look for signs of rust or corrosion. UV exposure can dry out sealants, so check around skylights and vents.
- Fall: Remove leaves and debris from valleys and gutters. Ensure flashing is securely fastened before heavy rains.
- Winter: Watch for ice dams forming near valleys and edges, which can push water under flashing.
💡 Tips for Extending the Life of Your Roof Flashing
Roof flashing doesn’t have to be a source of stress. With the right care, it can last as long as your roof. Here are some practical tips:
Schedule Regular Inspections
- Have a roofing professional inspect flashing at least once a year.
- Check flashing after major storms.
Keep Gutters Clear
- Clean gutters prevent water from backing up into valleys and flashing areas.
- Consider adding gutter guards for extra protection.
Choose Quality Materials
- Galvanized steel and aluminum are durable and affordable.
- Copper flashing is premium but can last for decades.
Don’t DIY Complex Areas
- Chimney and skylight flashing require expert installation.
- Poor DIY flashing jobs often cost more to fix later.
Replace When Replacing Shingles
- Always replace flashing when installing a new roof.
- This ensures proper sealing and compatibility with new materials.
📞 Protect Your Home with Proper Roof Flashing
Roof flashing might not be the first thing homeowners think about, but it’s one of the most critical parts of a roofing system. By keeping water out of vulnerable areas, flashing protects your home’s structure, extends the lifespan of your roof, and saves you from costly repairs. Whether you’re noticing signs of wear or simply want peace of mind, don’t overlook this essential detail.
If you’re concerned about the condition of your flashing or considering a full roof replacement, contact us today to schedule a consultation with our team. We’ll ensure your home stays safe, dry, and protected for years to come.