



Chimney Flashing Repair: Stopping Leaks at the Source
Chimney flashing repair is the most consistently effective solution for stopping water intrusion at the chimney-roof junction, yet it is also one of the most frequently botched repairs in residential roofing. Homeowners who apply caulk over failed flashing, or contractors who address only the visible top layer without touching the embedded counter flashing, end up with costly repairs that solve the same leak two or three times before properly installed flashing finally puts the issue to rest. Understanding how chimney flashing works, why it fails, and what a proper repair actually involves puts Burnaby homeowners in a far better position when evaluating quotes and deciding whether a repair will hold. Army Roofing handles flashing repairs across all roof penetrations and carries out full roofing services across the Lower Mainland. Here is what this blog covers:
- How chimney flashing works and what each component does
- Why chimney flashing fails
- What a proper repair involves at each failure point
- Cost ranges for chimney flashing repair
- Frequently asked questions for Burnaby homeowners
How Chimney Flashing Works
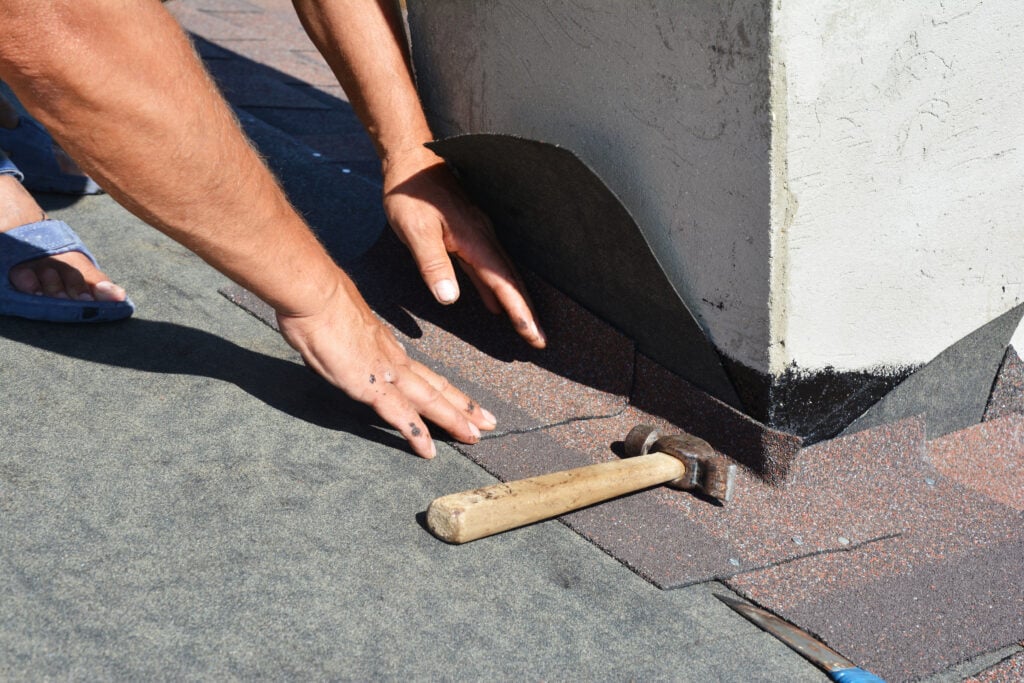
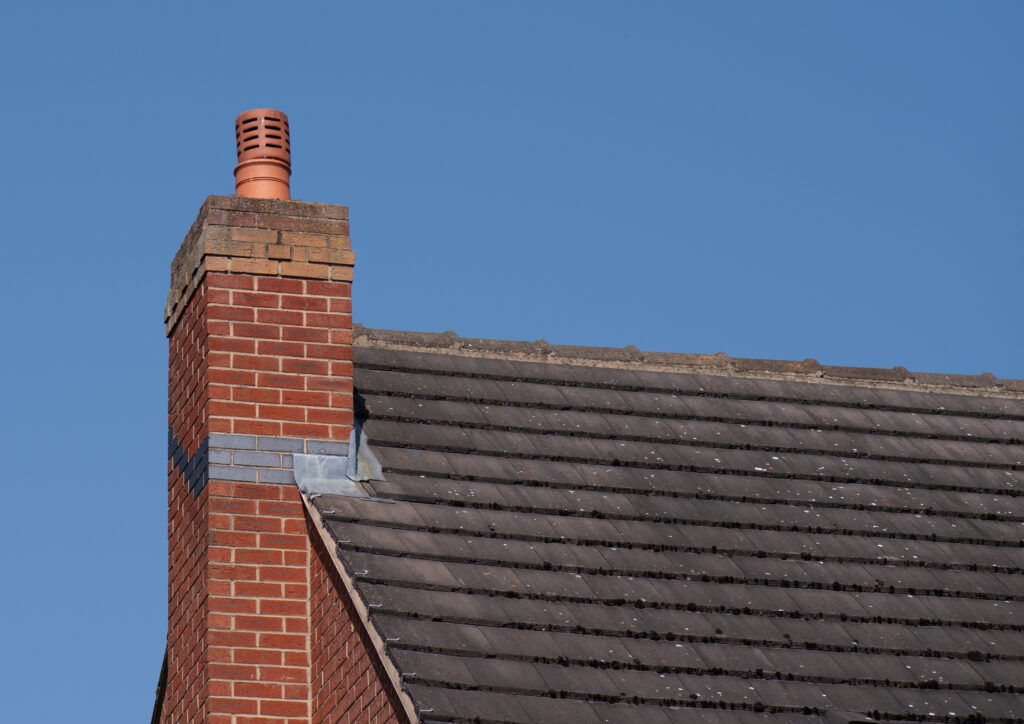
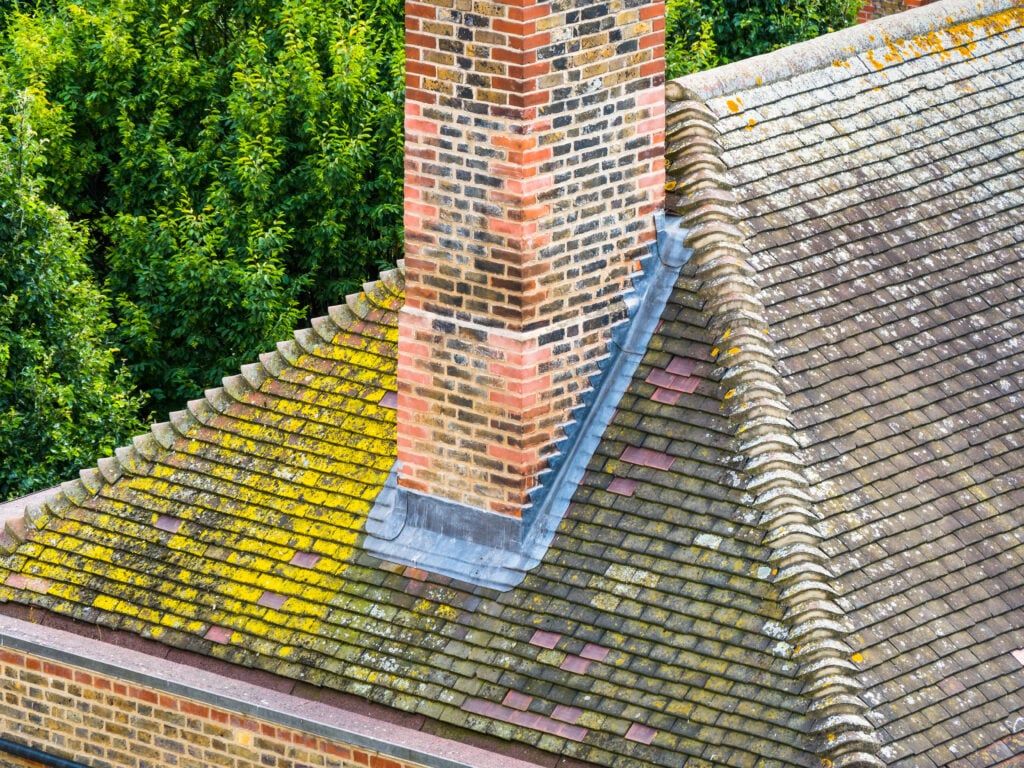
A chimney penetrates the roof deck and interrupts the waterproofing system that shingles and underlayment provide. Flashing bridges that gap, directing water away from the joint between the masonry and the roofing surface. The chimney system as a whole, including the masonry, the curb, and the flashing installation, must work together for the junction to stay watertight. Understanding each flashing component is essential for diagnosing where a repair is actually needed.
According to HomeGuide, chimney flashing repair costs $300 to $1,800 on average, depending on the extent of damage, flashing material, chimney size, and roof accessibility. The wide range reflects how significantly the required scope varies between a simple sealant refresh and a full reflashing job involving counter flashing extraction from the mortar joints.
Step Flashing
Step flashing consists of small L-shaped pieces of metal that are flashing installed alternately with each course of shingles along the sides of the chimney as the roof slope rises. Each piece overlaps the one below it, creating a layered barrier that directs water down and away from the chimney face rather than allowing it to find the joint. Step flashing is the primary line of defence on the upslope sides of the chimney.
Counter Flashing
Counter flashing is installed over the step flashing and is embedded directly into the mortar joints of the chimney masonry. The top edge is cut into the mortar, bent, and sealed, anchoring the counter flashing in place and preventing water from traveling behind the step flashing and into the roof structure. When existing flashing has corroded or pulled away from the mortar, the decision to replace chimney flashing at this layer is what determines whether a repair lasts years or fails again within a single season.
Base Flashing
Base flashing covers the lower intersection where the chimney face meets the roof surface, sealing the joint at the foot of the chimney where water running down the chimney face would otherwise pool against the shingle edge.
Cricket or Saddle
On wider chimneys, a cricket (also called a saddle) is installed on the uphill side of the chimney to divert water around the chimney rather than allowing it to pond against the back face. Without a cricket on a wide chimney, water builds up behind the chimney during heavy rainfall and significantly increases the leak risk at the back flashing joint.
Why Chimney Flashing Fails
Chimney flashing is subject to a specific set of failure modes that differ from standard roof flashing because of the chimney’s thermal mass, movement characteristics, and masonry interface.
1. Sealant Deterioration
The sealant applied at flashing joints has a finite lifespan. UV exposure, freeze-thaw cycling, and the differential thermal movement between the chimney masonry and the metal flashing cause sealant to harden, crack, and pull away from the surfaces it seals. In Burnaby’s climate, where freeze-thaw cycles through winter stress joints repeatedly, sealant degradation is the most common trigger for the first sign of a chimney leak.
- What to look for: Cracked, shrunken, or missing sealant at the junction where flashing meets the chimney face; visible gaps at the top of the counter flashing where it meets the mortar
- Why it matters: Once the sealant seal fails, water finds the gap at every rain event and begins working its way into the roof structure behind the flashing
- The fix: Removing all old sealant, cleaning the substrate, and applying fresh roofing-grade sealant. Roofing cement is sometimes used as a temporary measure at sealant joints, but it is not a substitute for proper flashing replacement when the metal itself has failed. This is a viable DIY repair if the underlying flashing is intact and correctly embedded; if the metal has also pulled away, professional repair is needed
2. Counter Flashing Pulling Away from Mortar Joints
The mortar joint that anchors the top of the counter flashing degrades over time, allowing the metal to pull away from the chimney face. This exposes the gap behind the counter flashing to direct water entry. Because this failure is at the masonry interface rather than at the sealant surface, it cannot be permanently fixed with caulk, the counter flashing needs to be re-embedded in fresh mortar.
- What to look for: Counter flashing that lifts or flexes when pressed; visible separation between the flashing edge and the chimney face along the top of the counter flashing; recurring leaks despite previous sealant repairs
- Why it matters: Water entering behind the counter flashing travels down the inside of the flashing system and enters the roof at the step flashing, producing a leak that appears to be coming from the base of the chimney rather than the top
- The fix: Grinding out the deteriorated mortar joint, re-embedding the counter flashing, and repointing the joint with matching mortar. This is masonry work that requires a contractor experienced with both flashing and chimney masonry
3. Corroded or Damaged Step Flashing
Step flashing that has corroded, cracked, or been physically damaged by maintenance work, fallen debris, or improper roof repairs loses its ability to direct water down and away from the chimney. Because step flashing is woven between the shingles, individual pieces can sometimes be replaced without removing large sections of the surrounding roof.
- What to look for: Rust streaks on the roof surface adjacent to the chimney; visible holes, cracks, or heavily corroded sections in the metal step flashing; leaks that appear specifically on the side faces of the chimney rather than at the top
- Why it matters: Corroded step flashing allows water to bypass the layered barrier on the chimney sides and enter the roof deck directly, typically producing a leak that appears some distance from the chimney as the water travels along the deck before dripping through
- The fix: Replacing individual corroded step flashing pieces is possible when corrosion is localized; widespread corrosion typically warrants full flashing replacement, including new step and counter flashing throughout, installed by a professional chimney and roofing contractor who can integrate the new metal correctly with the surrounding shingle courses
4. Missing or Undersized Cricket
On chimneys wider than 30 inches, the uphill side of the chimney creates a dam effect during heavy rainfall, forcing water to pond against the back face and find any available gap. If a cricket was never installed or was undersized at original construction, this pooling accelerates every other failure mode on the uphill side of the chimney.
- What to look for: Leaks that appear specifically on the uphill side of the chimney during or after sustained rainfall; no visible ridge or diversion structure on the uphill side of the chimney when inspected from the roof
- Why it matters: Without a cricket, water management at the back of the chimney relies entirely on the sealant and flashing joints, components that have a finite lifespan and will fail under that sustained water pressure sooner than a properly diverted system
- The fix: Installing a properly sized cricket during a reflashing project addresses the root cause rather than just repairing the symptoms repeatedly
5. Improper Original Installation
Many chimney flashing failures trace back to installation errors made when the roof or chimney was originally built. Common errors include step flashing that was nailed through the face rather than embedded properly, counter flashing applied with caulk rather than embedded in mortar, and flashing made from materials too thin to withstand the thermal movement at a masonry junction. These errors may not produce a visible leak for several years, which is why they are often only discovered when the first significant repair attempt fails to hold.
- What to look for: Flashing that is secured with visible face nails rather than embedded into mortar; counter flashing that appears to be sitting on top of the chimney face rather than cut into a mortar joint; recurring leaks that have resisted previous repair attempts
- Why it matters: No amount of sealant touch-up corrects a fundamentally incorrect installation; the flashing system needs to be removed and reinstalled correctly to produce a lasting result
- The fix: Full reflashing with correct step and counter flashing installation is the only lasting solution when original installation errors are identified
We are proud to serve home and business owners in Burnaby, BC, and nearby communities with professional chimney flashing repair, roofing inspection, and replacement services and more.
Chimney Flashing Repair Cost Ranges
| Repair Type | Typical Cost Range | Notes |
| Sealant refresh only | $150–$400 | Appropriate when metal is intact and correctly installed |
| Step flashing repair (localized) | $300–$600 | Replacing individual corroded or damaged pieces |
| Counter flashing re-embedding | $400–$1,200 | Requires masonry work to repoint mortar joints |
| Full reflashing (step and counter) | $600–$1,800 | Complete replacement of both flashing systems |
| Cricket installation | $500–$1,500 | Added cost alongside reflashing on wide chimneys |
Labour typically accounts for 60 to 70 percent of total chimney flashing repair costs. Roof slope, chimney size, and accessibility all affect the final price. Flashing installation on multi-storey homes or steep roofs carries a higher labour cost due to additional safety equipment and staging.
Common FAQs for Burnaby Homeowners
Chimney flashing questions come up most often after homeowners notice water stains near the chimney or have had a leak patched once or twice without the fix holding. Here are the most common questions we hear from Burnaby homeowners.
How do I know if my chimney is leaking or if it is the flashing?
In most cases, a water stain on the ceiling near the chimney after a rainstorm points to the flashing rather than the chimney itself. True masonry leaks, where water absorbs through porous brick or deteriorated mortar, tend to produce staining that appears gradually and can occur even without rainfall during high-humidity periods. Flashing leaks are more clearly correlated with rain events. A professional inspection is the most reliable way to confirm the source.
Can I fix chimney flashing myself?
Minor sealant repairs, removing old cracked sealant and applying fresh roofing-grade sealant at the joint, are a reasonable DIY task if the underlying metal is intact and correctly embedded. Counter flashing re-embedding requires masonry skills and mortar matching that go beyond typical DIY capability, and working at the chimney on a sloped roof without proper fall protection carries meaningful safety risk. For anything beyond a surface sealant refresh, professional repair produces a more reliable result.
How long should chimney flashing last?
Properly installed aluminum or galvanized steel chimney flashing typically lasts 15 to 25 years. Copper flashing, while significantly more expensive, can last 50 years or more. The sealant within the flashing system typically needs refreshing every 7 to 10 years as a maintenance measure even when the metal itself is still sound. In Burnaby’s climate, where freeze-thaw cycles stress sealant joints repeatedly through winter, proactive sealant maintenance helps prevent the minor failures that lead to larger repair scopes.
Should I repair or replace my chimney flashing during a roof replacement?
Almost always replace it. To replace chimney flashing during a new roof installation, the surrounding shingles are already removed, making the labour cost of new step flashing minimal compared to a standalone project. Installing new shingles over aging existing flashing means the flashing will likely need attention before the shingles reach end of life. Properly installed flashing during a planned reroof consistently delivers better value than deferring it.
Army Roofing Fixes Chimney Flashing the Right Way the First Time
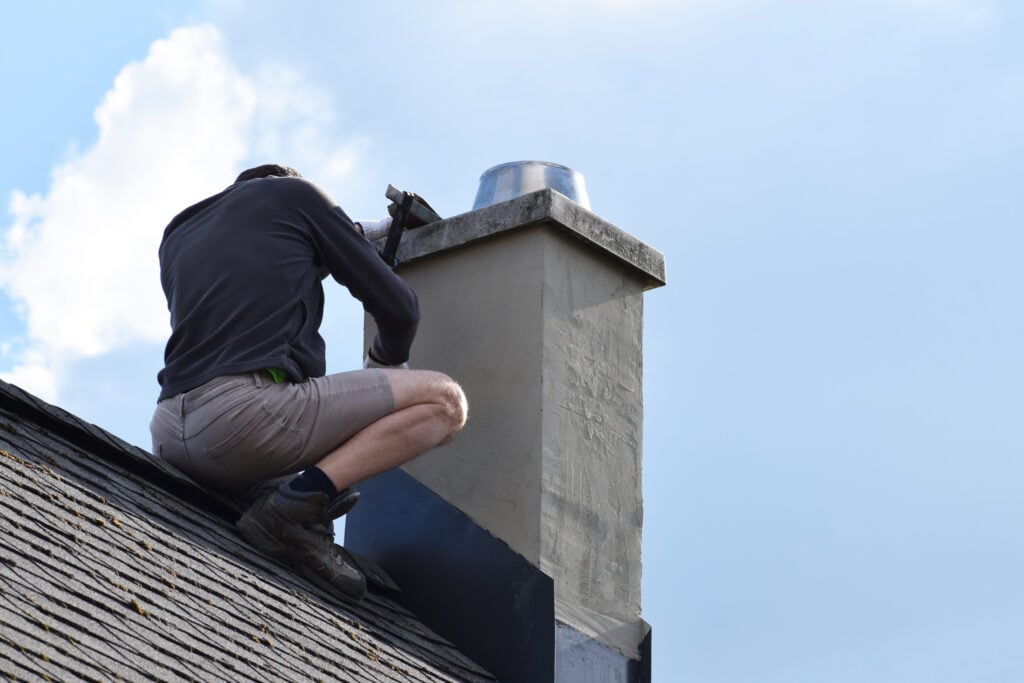
A chimney flashing repair that does not address the actual failure point will leak again within a season or two. At Army Roofing, every chimney flashing assessment identifies exactly which component has failed, whether it is sealant, counter flashing embedment, step flashing corrosion, or original installation error, before any repair work begins. Contact Army Roofing today to book your free inspection in Burnaby and across the Lower Mainland and get a repair that actually holds.
Recent Articles
The Roof Blog