



Drip Edge Installation: Why This Small Detail Matters
Drip edge installation is one of the most consistently skipped or incorrectly executed steps in residential roofing, and the consequences show up years later as rotted fascia boards, deteriorated roof decking, and costly repairs that trace directly back to a component that costs very little to install correctly. On shingle roofs specifically, missing or incorrectly installed drip edge is one of the most common sources of avoidable long-term damage. A drip edge is a narrow L-shaped metal flashing installed along the eaves and rake edges of a roof, and its job is to direct water away from the roof deck and fascia rather than allowing it to wick back underneath the roofing assembly. Army Roofing installs drip edge on every residential roof replacement as a standard part of a code-compliant, properly waterproofed roofing system. Here is what this blog covers:
- What drip edge is and what it does
- Why correct installation sequence matters
- Common drip edge installation mistakes
- Material types and how to choose
- Frequently asked questions for Delta homeowners
What Drip Edge Is and What It Does
A drip edge is a thin strip of bent metal, typically aluminum, galvanized steel, or copper, installed at the perimeter of a roof along both the eaves (the lower horizontal edges) and the rakes (the sloped gable-end edges). Its profile is an L-shape or T-shape that extends below the roof deck edge, directing water away from the fascia board and into the gutter. The drip edge’s lower lip is designed to extend past the fascia, allowing water to drip clear of the board rather than running down its face and soaking the wood repeatedly. The drip edge sits directly against the roof line at the perimeter, installed drip edge directly on the deck at eaves and over the underlayment at rakes, so every drop of water running off the roof is directed away from the roof structure rather than back along the underside of the roof sheathing.
Without drip edge, water running off the edge of a roof follows the path of least resistance, which often means wicking back under the shingles or underlayment and soaking the fascia board repeatedly over years. Fascia rot from missing drip edge is one of the most common findings during roofing inspections on older homes across Delta and the Lower Mainland, and the repair cost is consistently higher than the original drip edge installation would have been.
According to IRC Section R905.2.8.5, a drip edge is required at all eave and rake edges of asphalt shingle roofs, with specific requirements for overlap, projection, and fastener spacing. JLC Online notes the code requires the drip edge to extend at least a quarter inch below the roof sheathing and back onto the roof deck by at least two inches. The Asphalt Roofing Manufacturers Association also recommends drip edge as a best practice on all shingle roofs regardless of local building codes, citing its role in preventing water infiltration at the roof edge.
Why Installation Sequence Matters
Drip edge is not just a question of whether to install it, the sequence in which it is installed relative to the underlayment is critical, and getting it wrong creates exactly the moisture problems drip edge is designed to prevent.
At the eaves, drip edge is installed directly on the roof deck before the underlayment goes on. The underlayment then laps over the top of the drip edge, so water running down the underlayment is directed onto the drip edge and into the gutter rather than behind it.
At the rakes, the sequence is reversed. Underlayment is installed first, and the drip edge goes on top of it. Positioning at rakes should allow the lower flange of the drip edge to hang below the roof deck, directing any water that reaches the rake edge away from the fascia and roof structure below. This prevents wind-driven rain from getting under the rake edge and into the underlayment, while allowing the underlayment to run fully to the roof edge without being exposed.
This two-position sequence, under at eaves and over at rakes, governs the entire installation and is not optional or stylistic. It is a code requirement under IRC R905.2.8.5 and a functional necessity for a properly performing roofing system. Drip edge is fastened with roofing nails at no more than 12 inches on center, with sections overlapping a minimum of two inches at joints. Installers who apply drip edge the same way at both locations create a vulnerability at whichever edge is done incorrectly.
Common Drip Edge Installation Mistakes
Most drip edge problems trace back to a small number of recurring errors. Here are the ones that show up most often during roofing inspections.
1. Missing Drip Edge Entirely
Some roofing contractors, particularly those cutting costs on competitive bids, omit drip edge entirely. In regions that have adopted modern editions of the IRC, this is a code violation. Even where code enforcement is less rigorous, the absence of drip edge allows water to contact the fascia and roof deck edge repeatedly with every rainfall, leading to rot that may not be visible until it is already extensive.
- What it causes: Fascia board rot, roof deck deterioration at the edges, gutter detachment as the fascia loses structural integrity
- How to check: Look along the eave edge of the roof for a visible metal strip below the first course of shingles; if there is nothing there, drip edge is missing
- The fix: A new drip edge can be retrofitted on an existing roof in some cases, though correct eave installation requires tear-off to get the sequence right; confirm local building codes for your municipality before proceeding
2. Incorrect Installation Sequence
Installing drip edge over the underlayment at eaves, or under the underlayment at rakes, reverses the intended water flow. At eaves installed in the wrong order, water gets behind the drip edge and reaches the fascia. At rakes installed incorrectly, wind-driven rain can get under the exposed underlayment edge. This mistake is common when installers apply the same sequence at both locations without understanding why they differ.
- What it causes: Persistent moisture at the fascia or rake edge that does not always produce an obvious interior leak but silently deteriorates the wood underneath
- How to check: This is difficult to verify visually after shingles are installed, which is why using a reputable contractor with documented installation standards matters
- The fix: Correct installation sequence requires removing the drip edge and reinstalling it in the proper order relative to the underlayment
3. Insufficient Overlap at Joints
Drip edge sections are installed in lengths, and adjacent sections must overlap by a minimum of two inches per code to prevent water from finding the gap between them. Short overlaps allow capillary action to draw water into the joint and behind the drip edge, defeating its purpose at exactly the point where sections meet.
- What it causes: Localized water infiltration at drip edge joints that is easily mistaken for a shingle or flashing failure when the actual source is a gap in the drip edge overlap
- How to check: From a ladder at the eave, look for visible gaps or misaligned sections of drip edge below the shingle line
- The fix: Re-overlapping and sealing joints, or replacing drip edge sections that are too short to meet the two-inch minimum
4. Wrong Material for the Climate
Not all drip edge materials perform equally in all climates. Vinyl drip edge, while easy to install, becomes brittle in cold temperatures and can crack or pull away from fasteners during freeze-thaw cycles. In Delta and the broader Lower Mainland, where winters bring freeze-thaw conditions and persistent moisture, aluminum or galvanized steel drip edge is the appropriate choice.
- What it causes: Cracked or separated drip edge sections that allow water infiltration at the roof perimeter during the coldest and wettest months
- How to check: Inspect drip edge sections during or after winter for cracks, warping, or sections that have pulled away from the roof edge
- The fix: Replacing vinyl drip edge with aluminum or galvanized steel, particularly on homes in areas with significant temperature variation
5. Improper Fastening
IRC R905.2.8.5 requires drip edge to be mechanically fastened at no more than 12 inches on center. In high-wind coastal areas, some jurisdictions reduce this to six inches. Drip edge installed with too few fasteners can lift in high winds, allowing water to get underneath it and behind the fascia.
- What it causes: Lifted drip edge sections during windstorms, which allows water behind the edge and accelerates fascia deterioration
- How to check: A visual inspection from a ladder can reveal drip edge sections that are not flush against the fascia or that flex when light pressure is applied
- The fix: Additional fasteners driven through the drip edge flange and into the roof deck at the required spacing
We are proud to serve home and business owners in Delta, BC, and nearby communities with professional roofing installation, replacement, and inspection services and more.
Drip Edge Material Types
Drip edges are made from various corrosion-resistant metals and plastics, each with different performance characteristics depending on the climate and application. Here is how the main options compare for BC residential roofing.
| Material | Durability | Cost | Best For |
| Aluminum | Good; resists corrosion; cut with tin snips | Low to moderate | Most residential applications in BC |
| Galvanized steel | Excellent; protects roof structure in coastal exposure | Moderate | High-wind or coastal exposure in Delta and Lower Mainland |
| Copper | Superior; very long lifespan | High | High-end or heritage homes |
| Vinyl | Poor in cold; not recommended | Low | Mild climates only; not suitable for BC |
Common FAQs for Delta Homeowners
Drip edge questions come up most often during reroofing estimates and post-storm inspections. Here are the ones we hear most often from homeowners in Delta and the South Fraser area.
Is drip edge required by code in BC?
The BC Building Code references the National Building Code of Canada, which incorporates IRC-aligned requirements for roofing assemblies. Drip edge or equivalent edge flashing is required on permitted roofing work in BC, and local building codes in most Lower Mainland municipalities enforce this during inspections. Any contractor bidding a roof replacement without including drip edge in the scope should be asked to explain the omission.
How long does drip edge last?
Aluminum drip edge typically lasts the life of the roof above it, 20 to 30 years or more depending on the roofing system. Galvanized steel can last even longer in exposed conditions. The main failure modes are physical damage from impact, corrosion at fastener points in very wet climates, and vinyl cracking in cold conditions. Drip edge is not a maintenance item under normal circumstances, but it should be inspected and replaced as part of any full roof replacement.
Can drip edge be added to an existing roof without replacing the shingles?
At the rakes, yes, rake drip edge installs over the underlayment and can often be added by lifting the first course of shingles and slipping the drip edge underneath. At the eaves, correct installation requires the drip edge to go under the underlayment, which generally cannot be done without a tear-off. A partial retrofit is sometimes possible at eaves using a drip edge style that can be tucked under the first shingle course, but this is a compromise rather than a proper installation.
Does my gutters’ condition affect drip edge performance?
Yes. Drip edge directs water from the roof surface into the gutter, if the gutter is sagging, blocked, or pulling away from the fascia, water that the drip edge successfully redirected may still pool against the fascia rather than draining away. Keeping gutters clear and properly pitched is the downstream complement to correct drip edge installation.
Army Roofing Covers Every Detail, Including the Ones You Cannot See
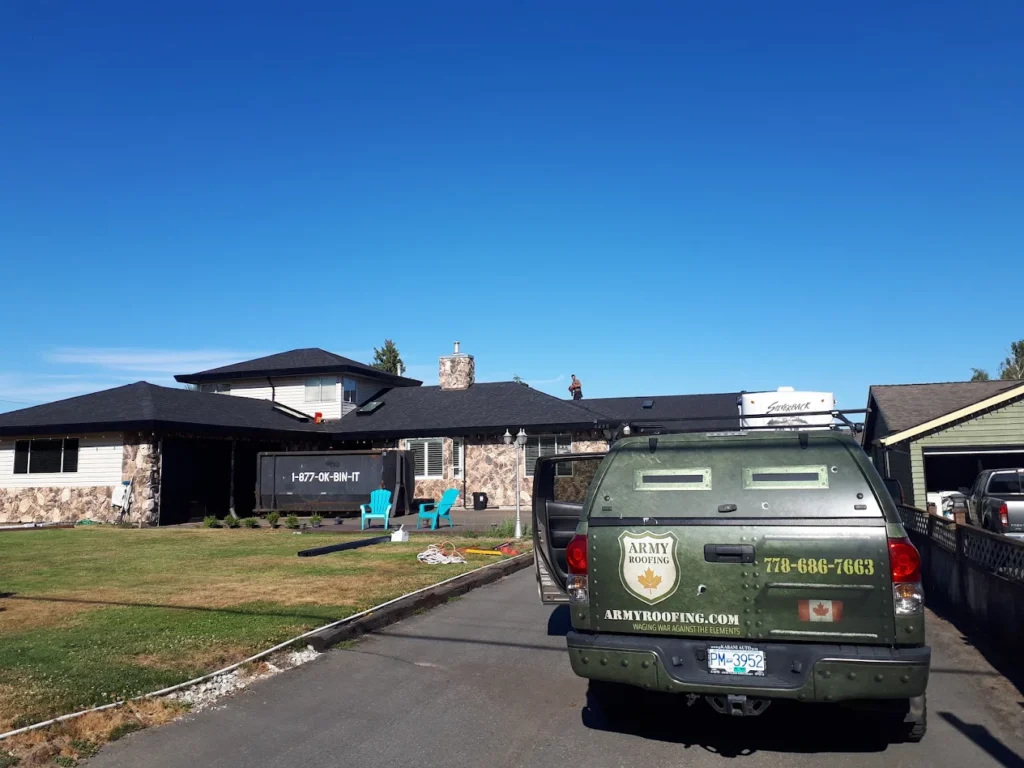
Drip edge is invisible once the roof is complete, which is exactly why it is so often done incorrectly or skipped entirely. At Army Roofing, drip edge installation follows the correct sequence at eaves and rakes, uses the right material for BC’s climate, and meets the fastening requirements that keep it in place when the wind picks up. Contact Army Roofing today to book your free estimate and get a roof that is built correctly all the way to the edge.
Recent Articles
The Roof Blog